| Role |
Manufacturer |
| Established Year |
2015 |
| Industry Experience |
More than 20 years |
| Staff |
100+ (More than 40% of staff possess over a decade of industry expertise) |
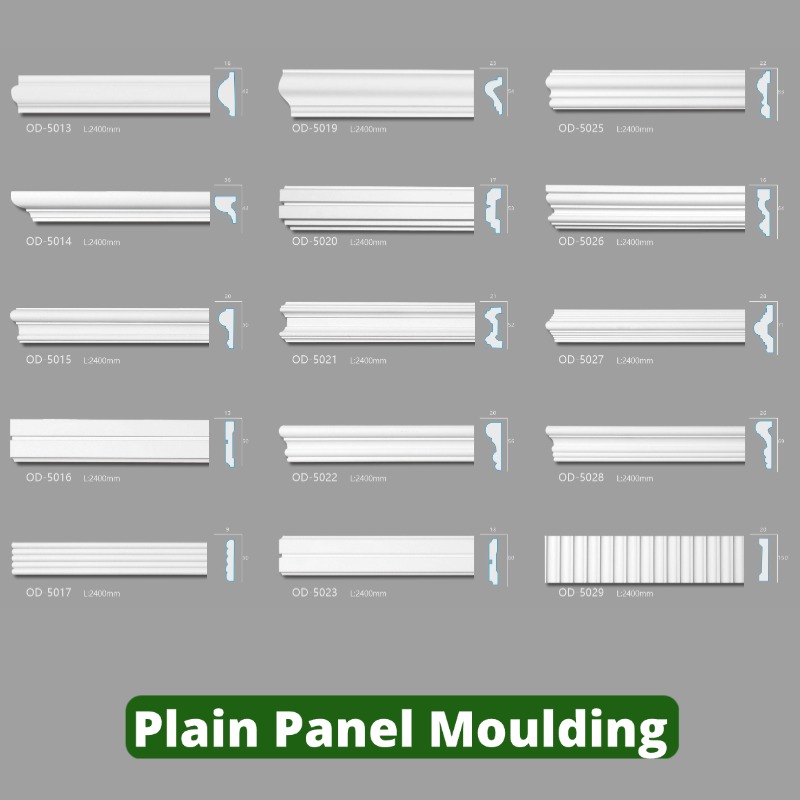
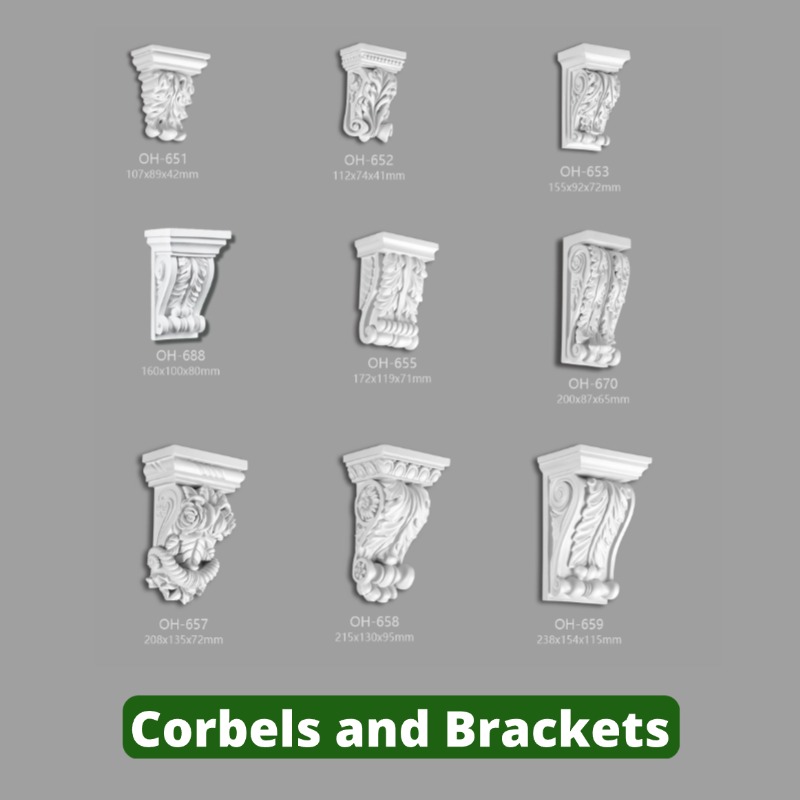
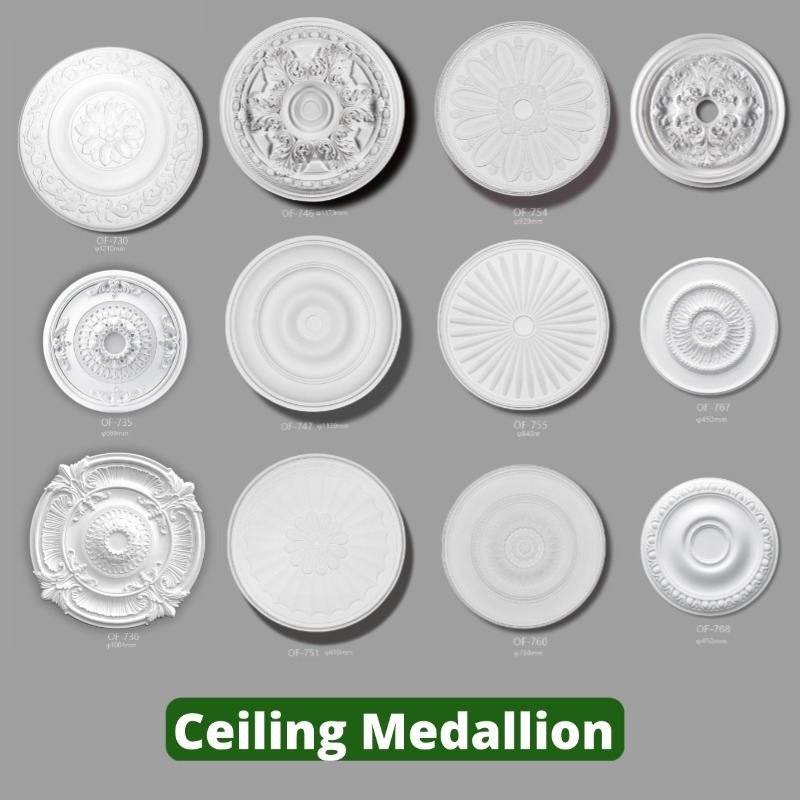
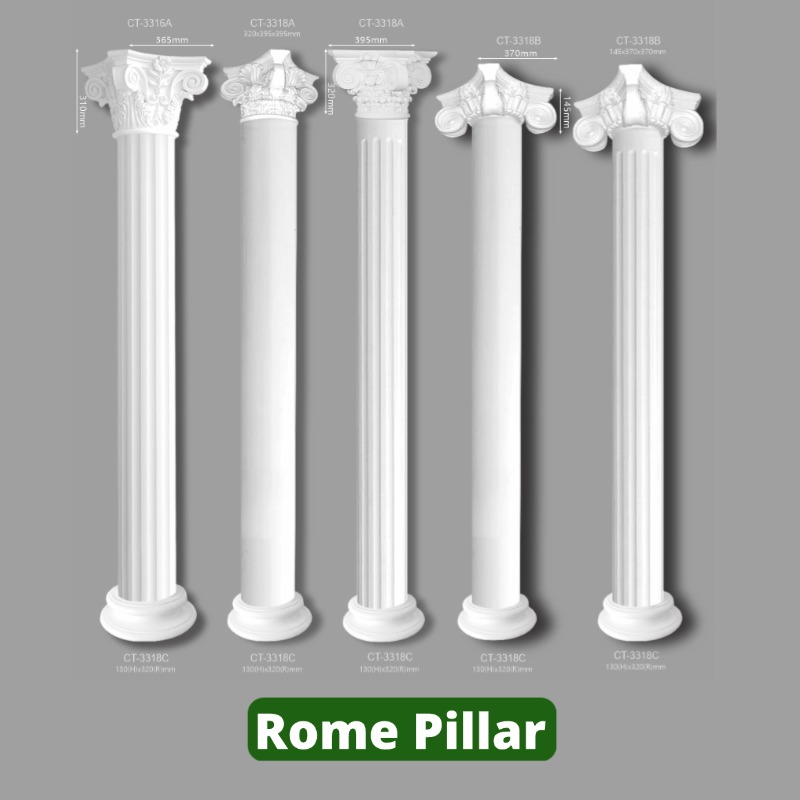
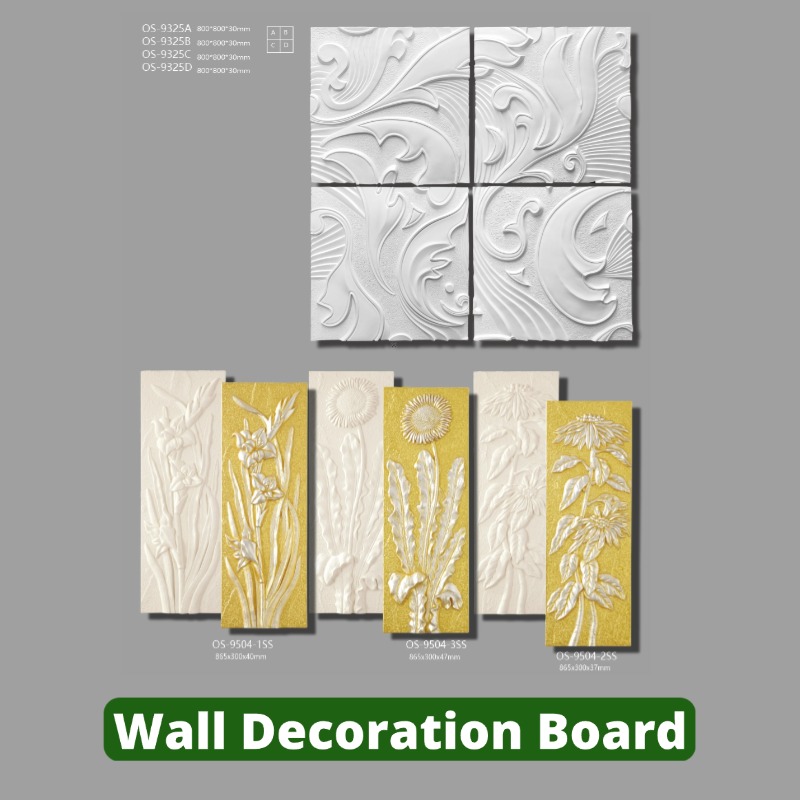
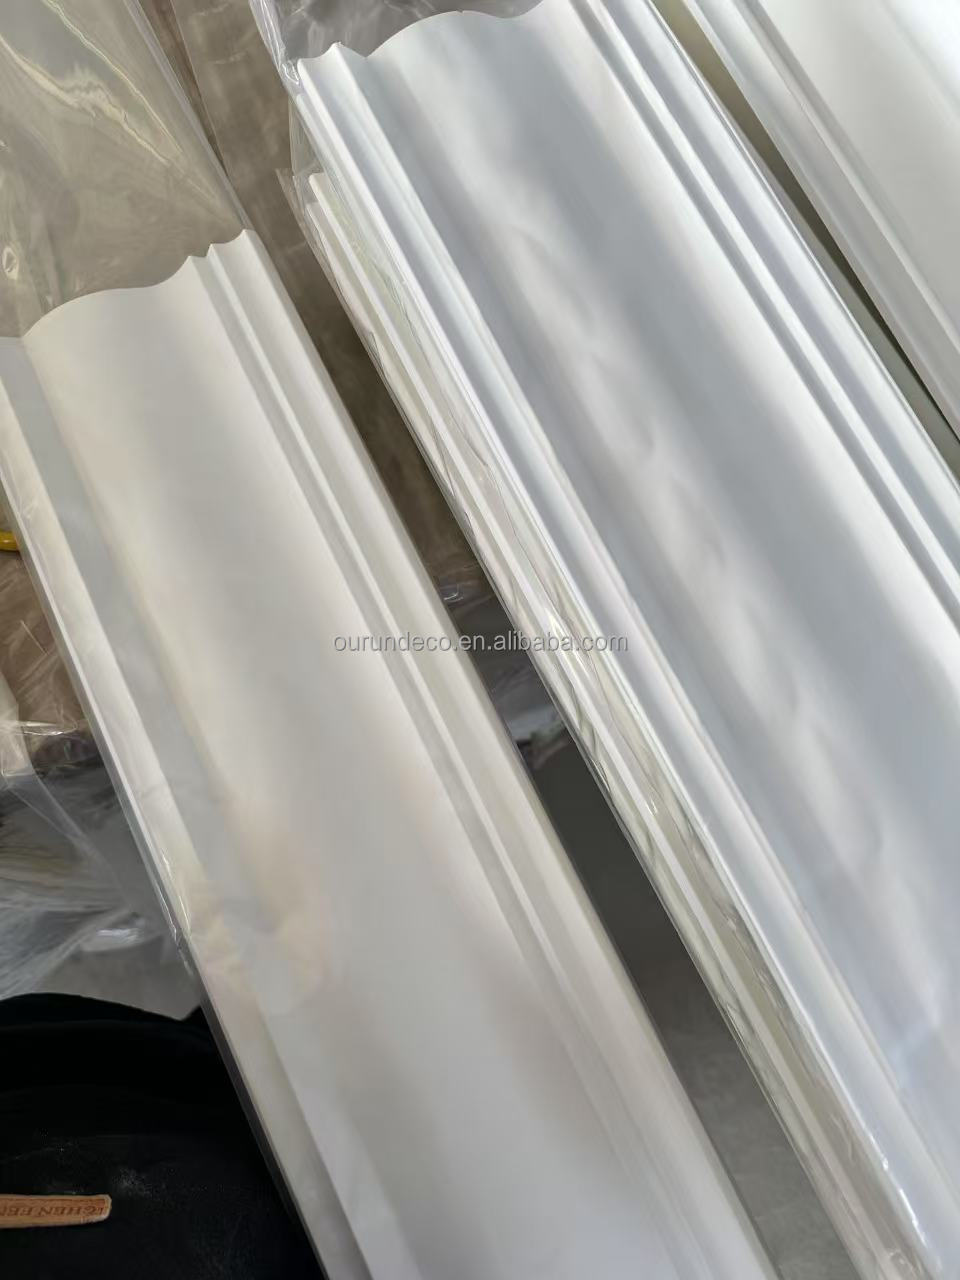
Key Features & Specifications
💡 Key Features:
- Lightweight: Easy to handle and install, reducing labor costs.
- Durable: Long lifespan, maintaining appearance over time.
- Insect Resistant: Protects against termite and other insect damage.
- Moisture Resistant: Ideal for humid environments, preventing mold and mildew growth.
- Easy Installation: Can be quickly and easily installed with minimal tools.
- Easy to Cut: Can be precisely cut to fit any space.
- Paintable: Can be painted with latex paint to match any decor.
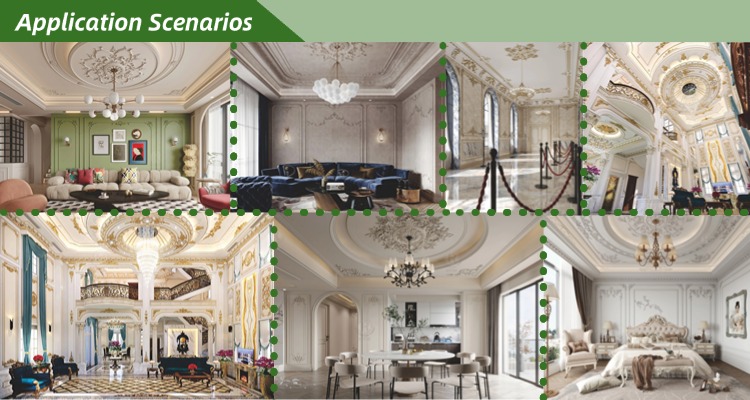
- Wide range of application scenarios: Villa, platform, hotel, bar, and so on.
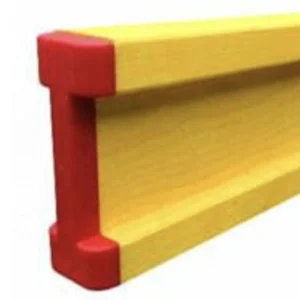
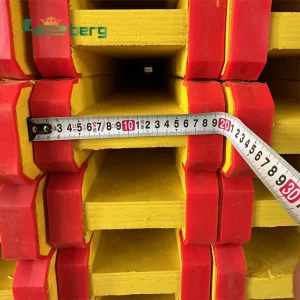
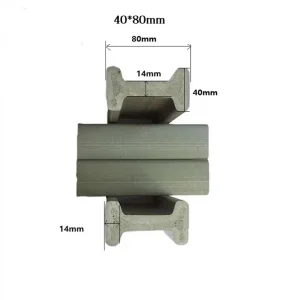
⚙ Specifications:
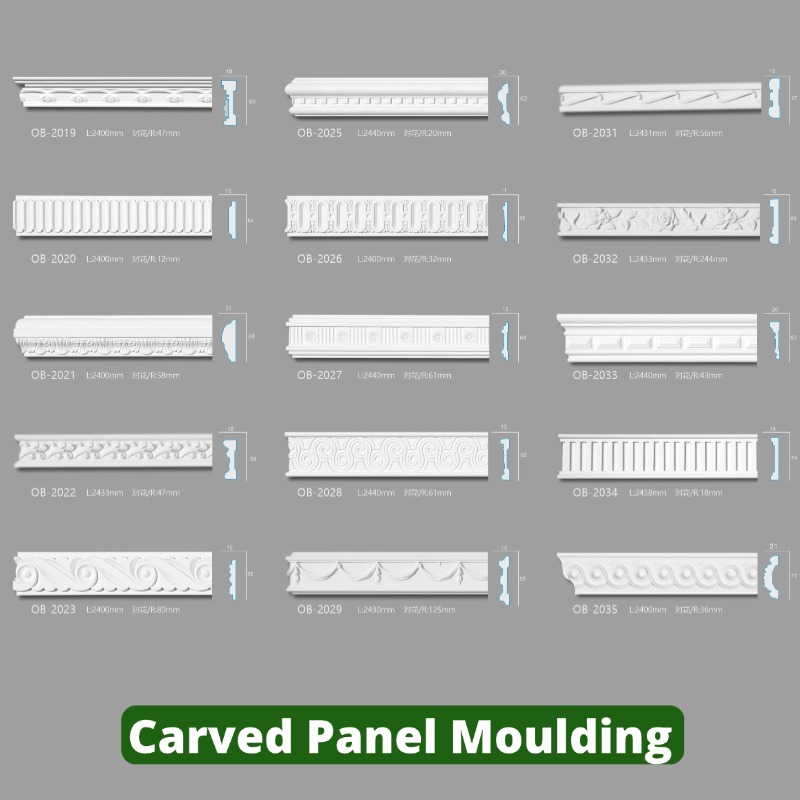
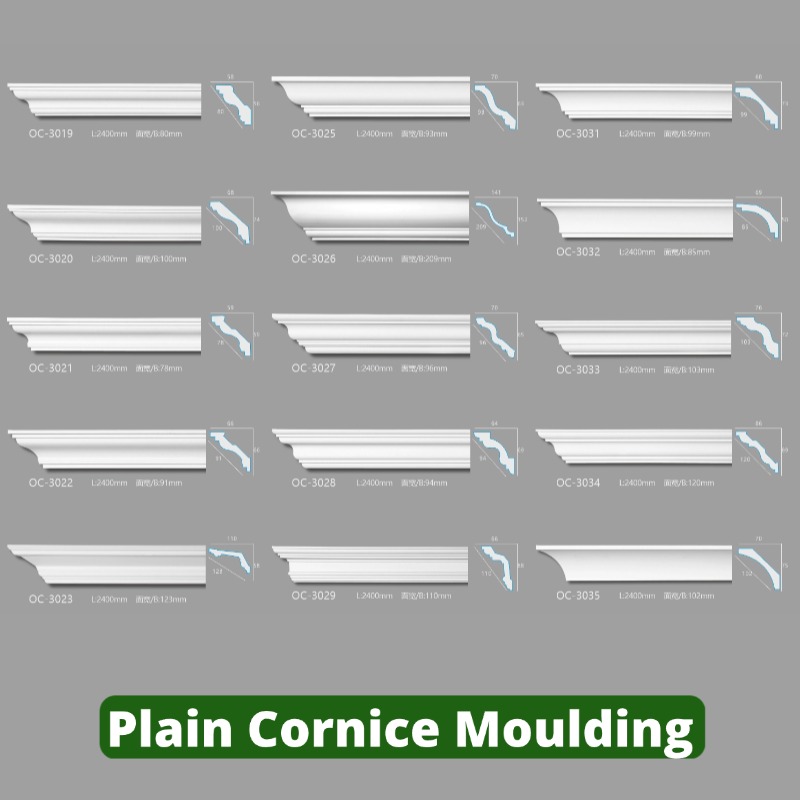
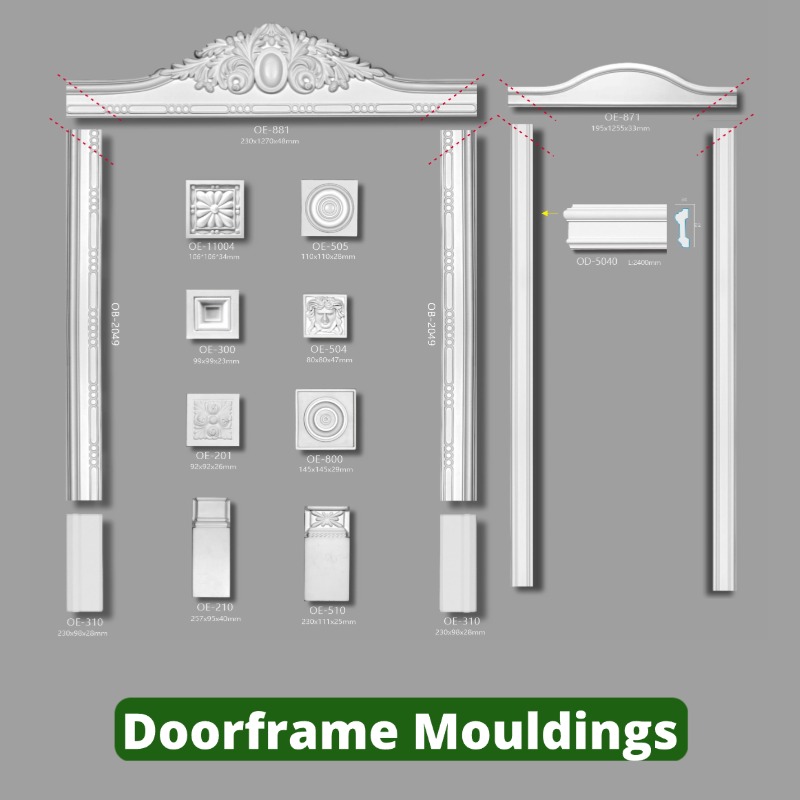
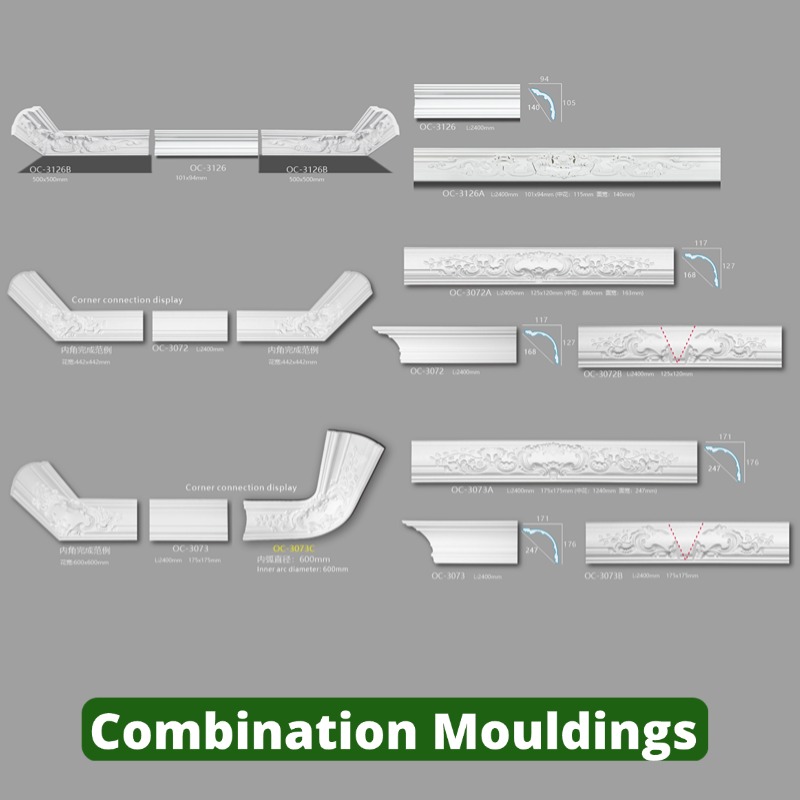
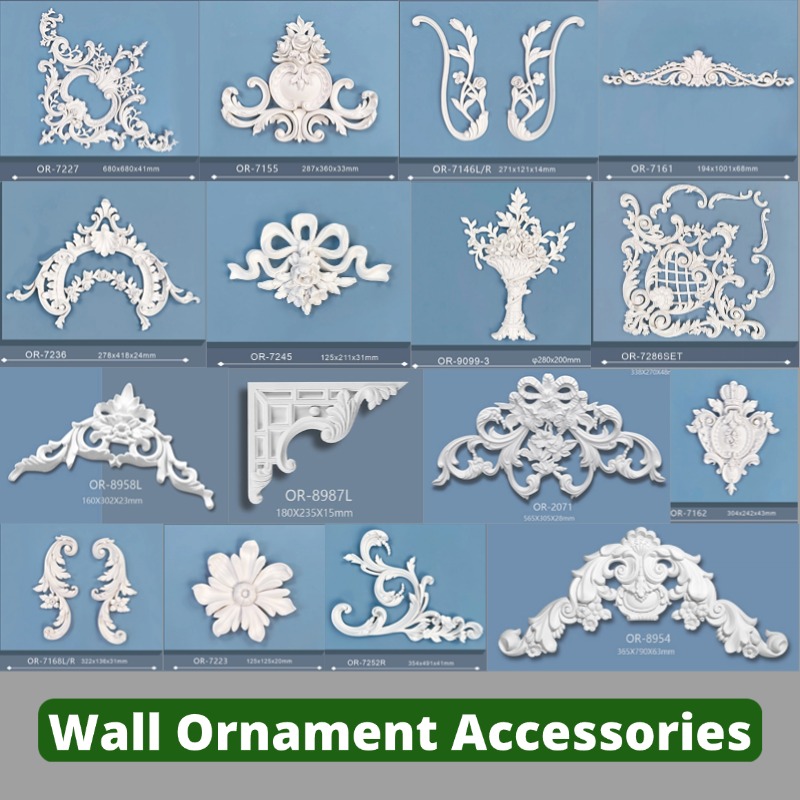
- Material: Polyurethane (PU)
- Length per Piece: According to the specific product
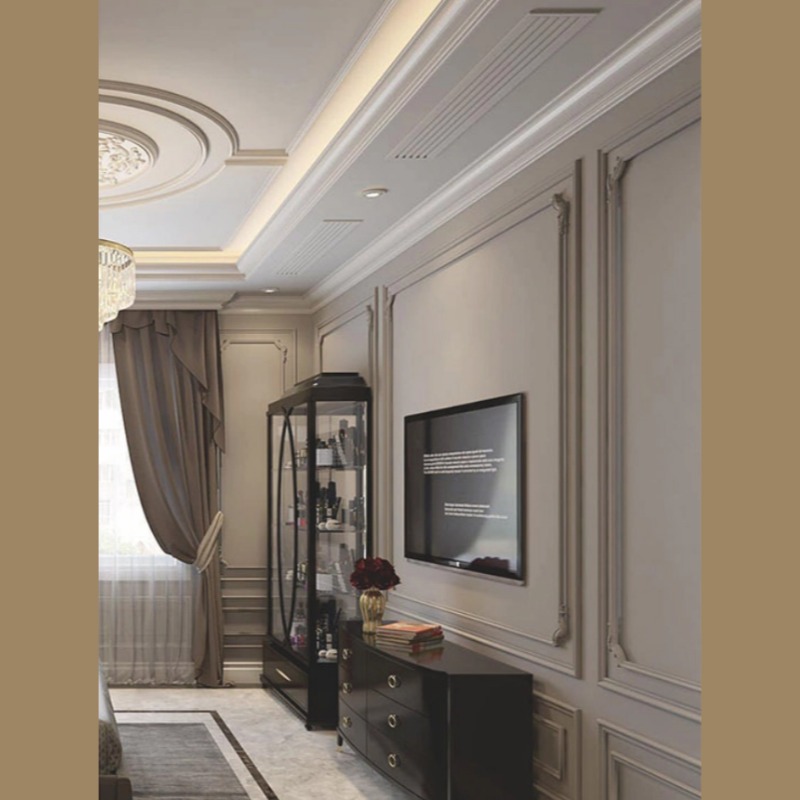
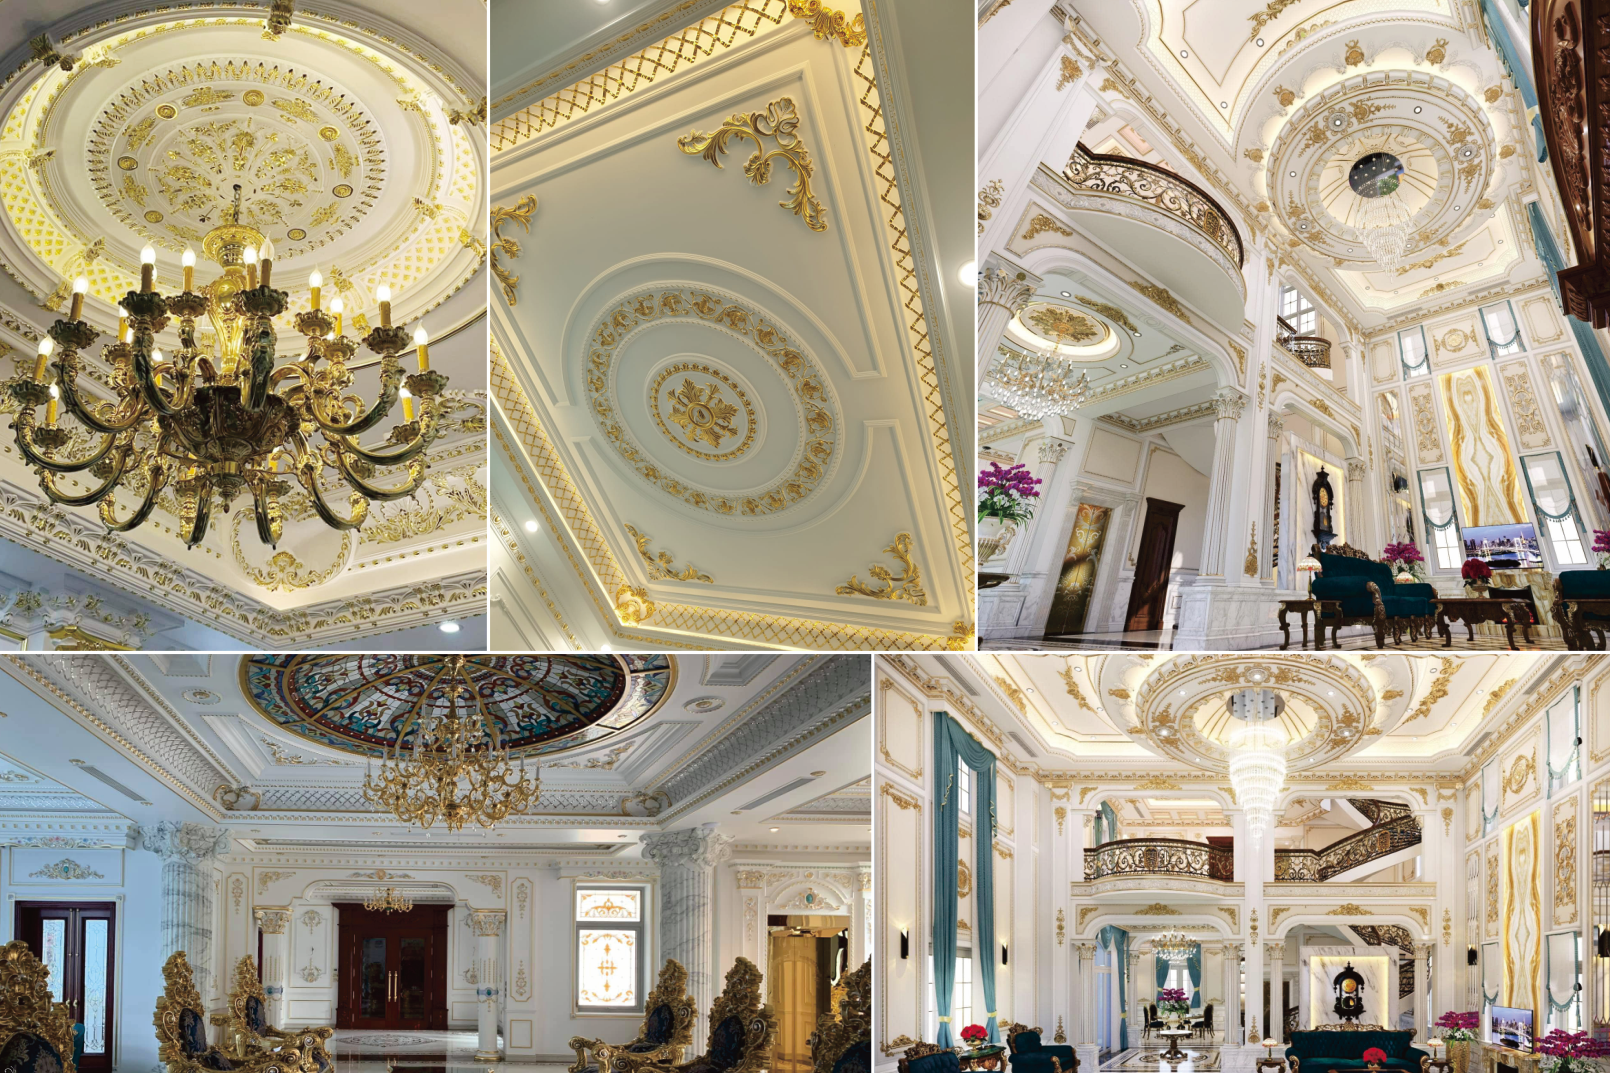
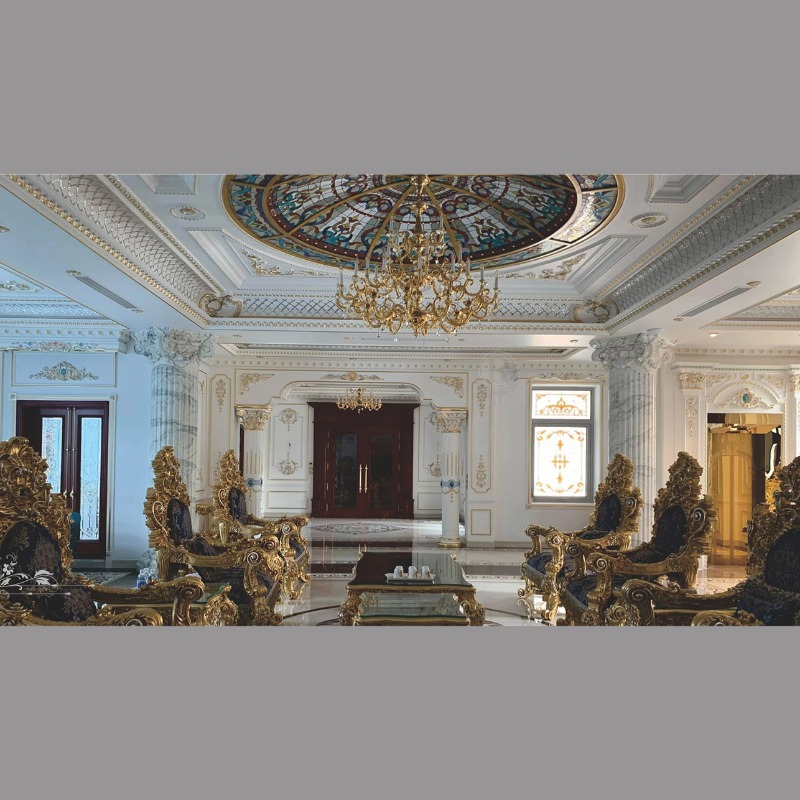
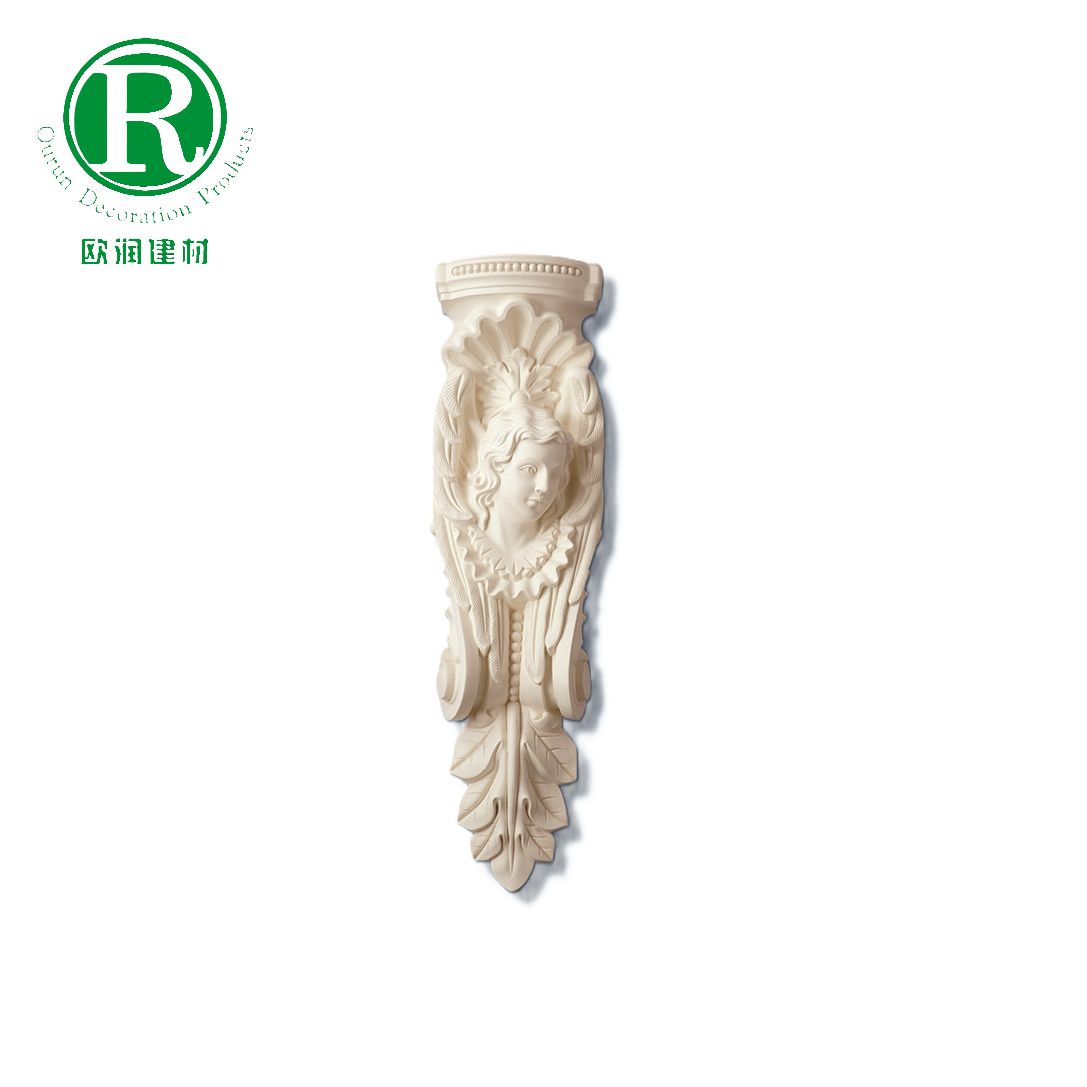
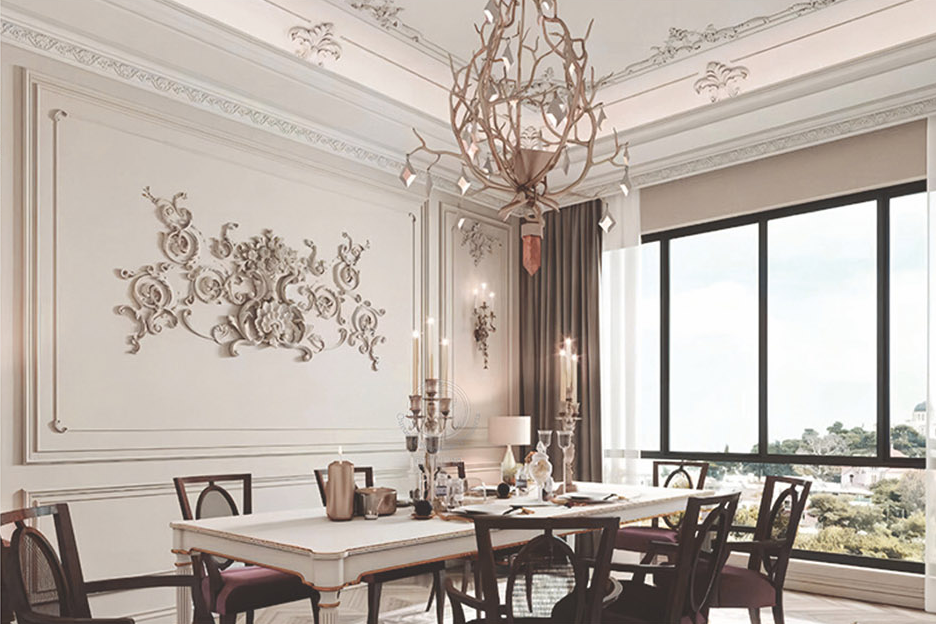
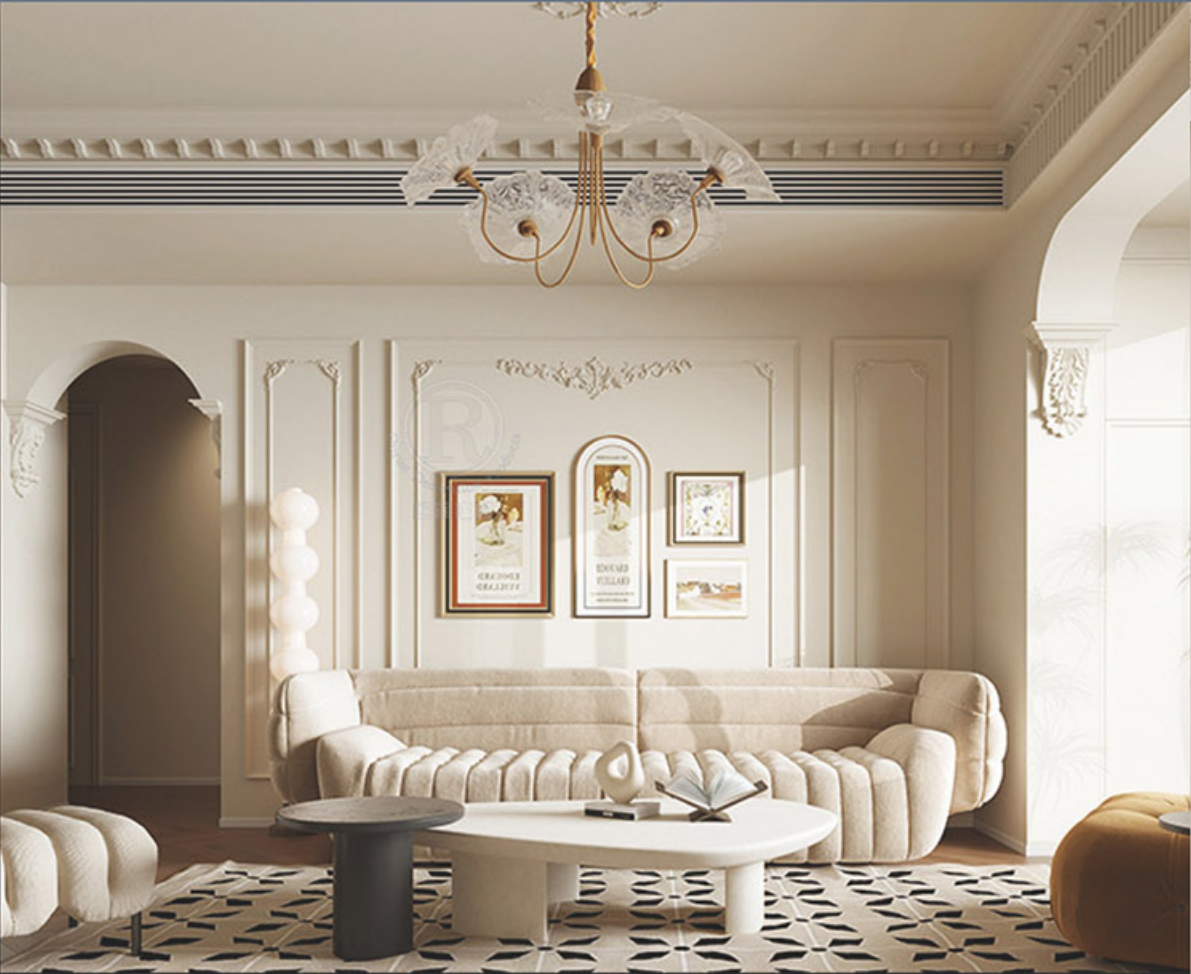
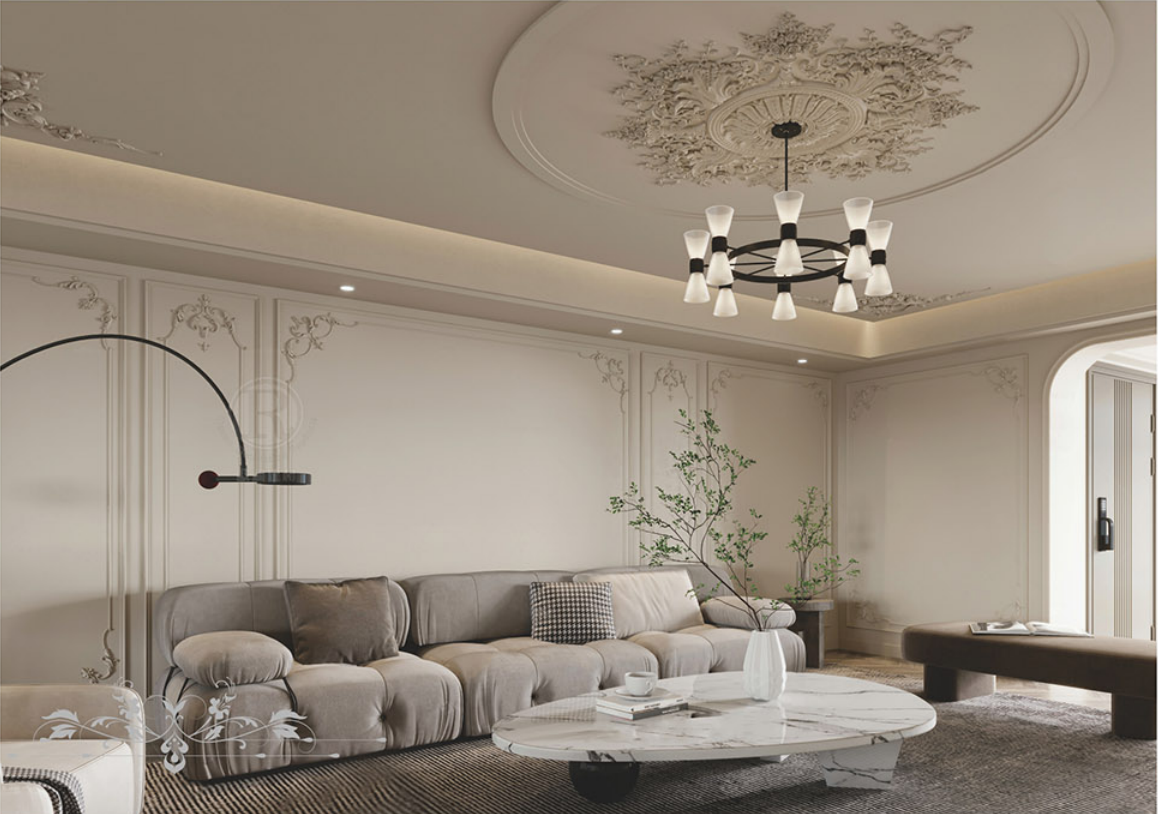
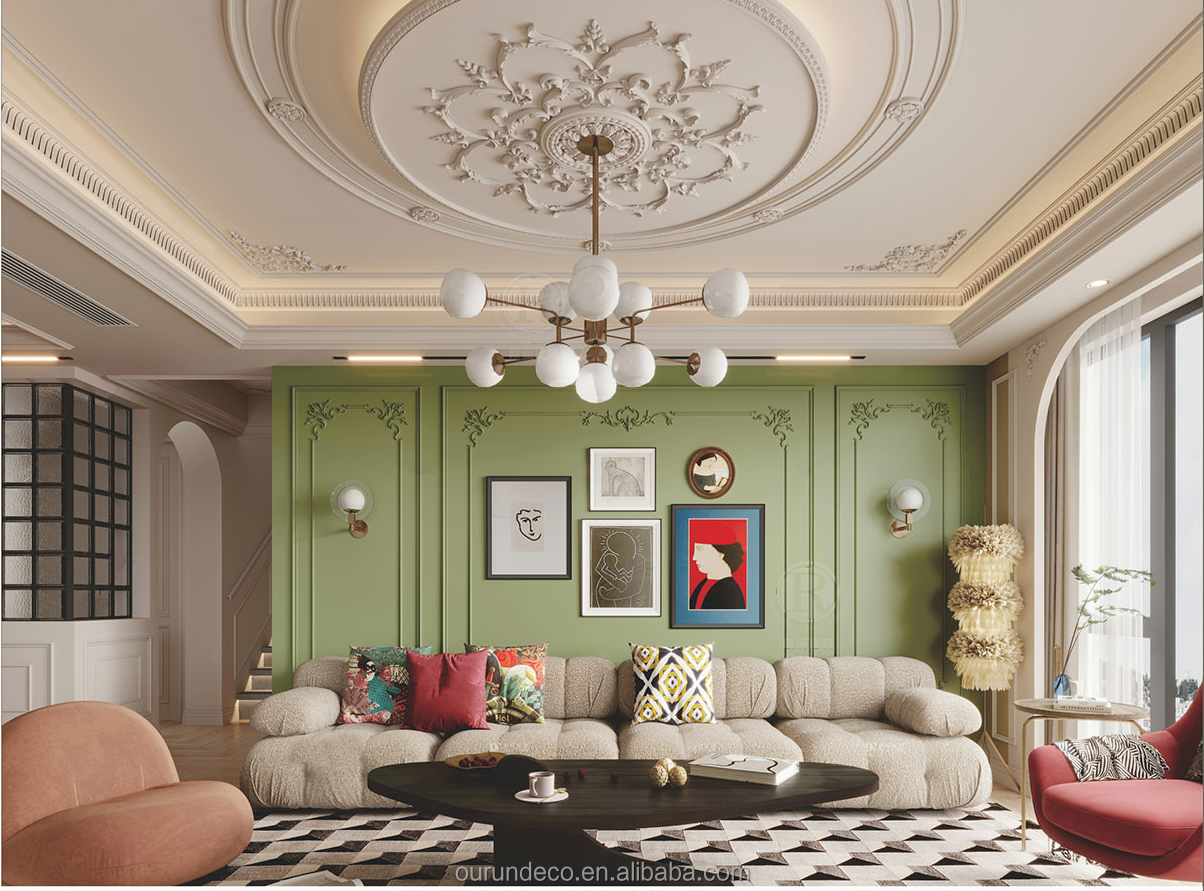
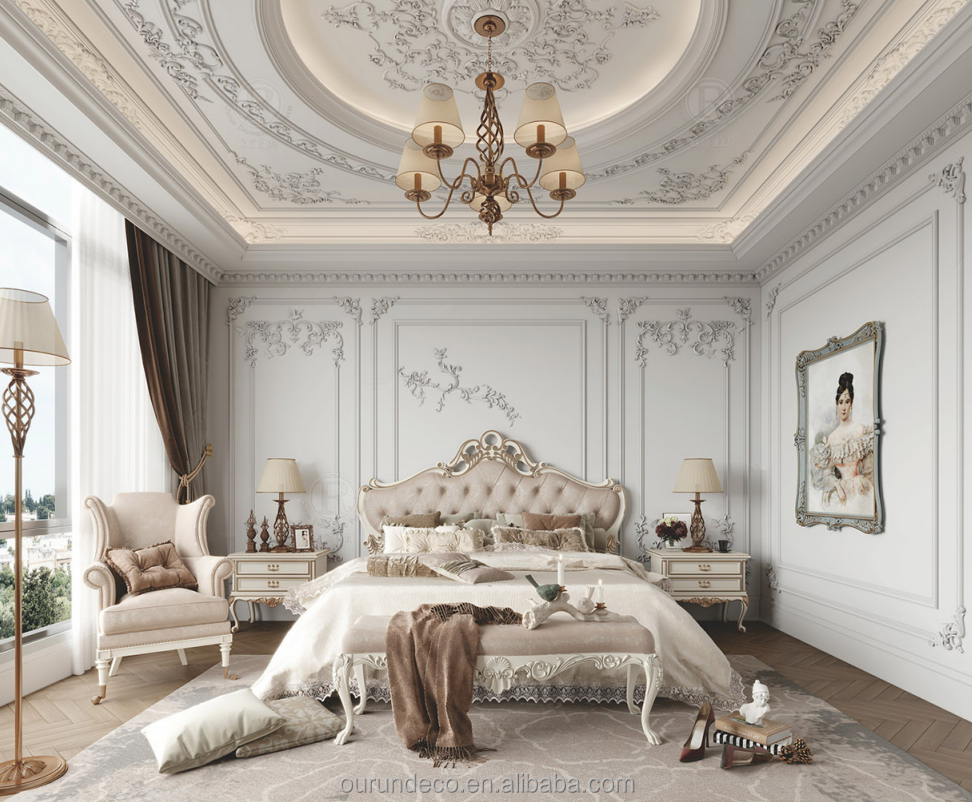
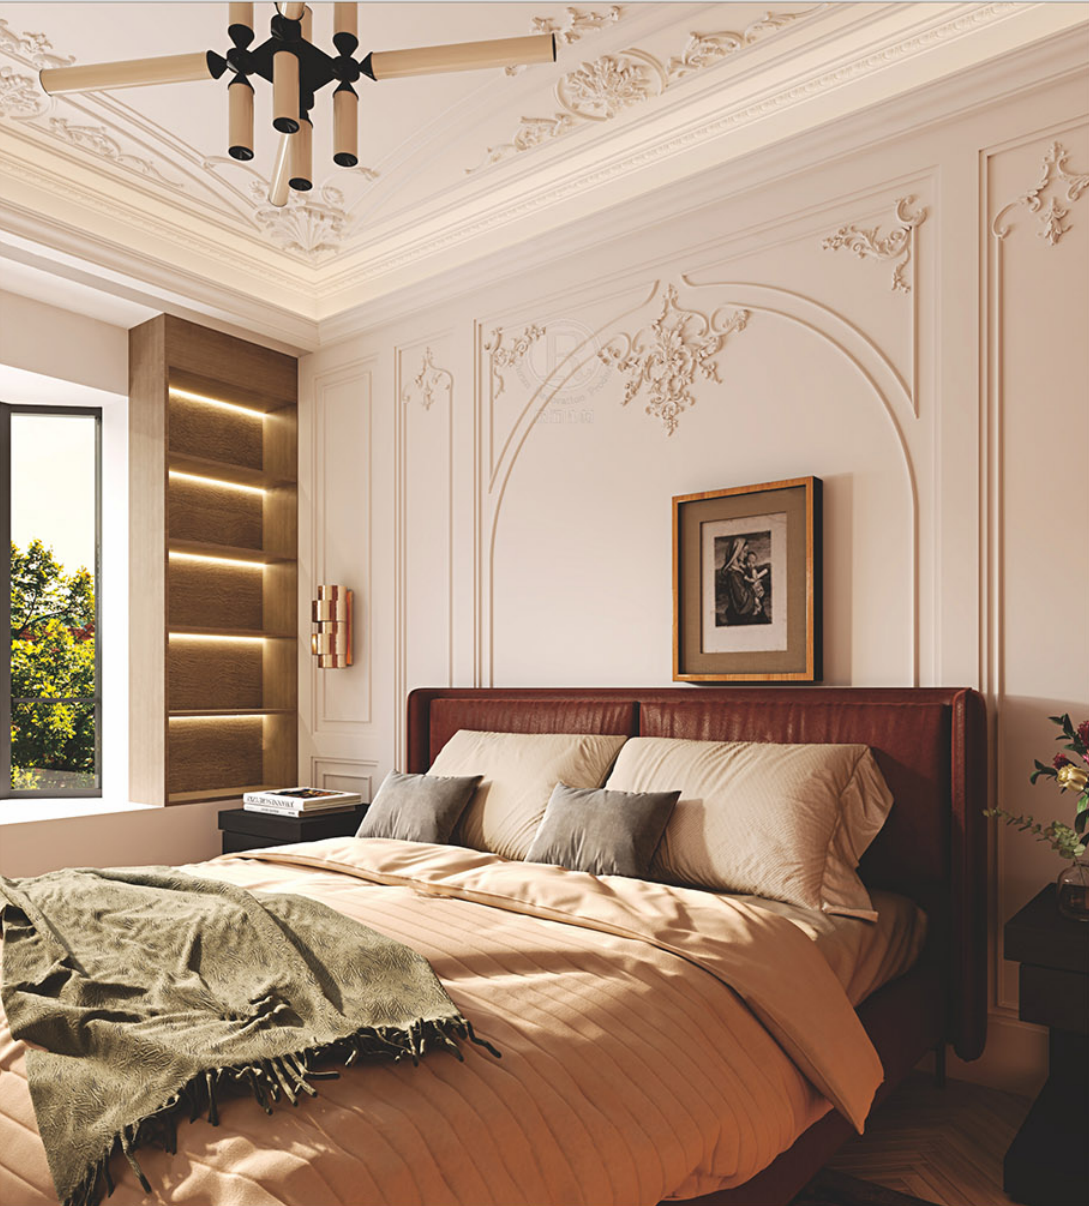
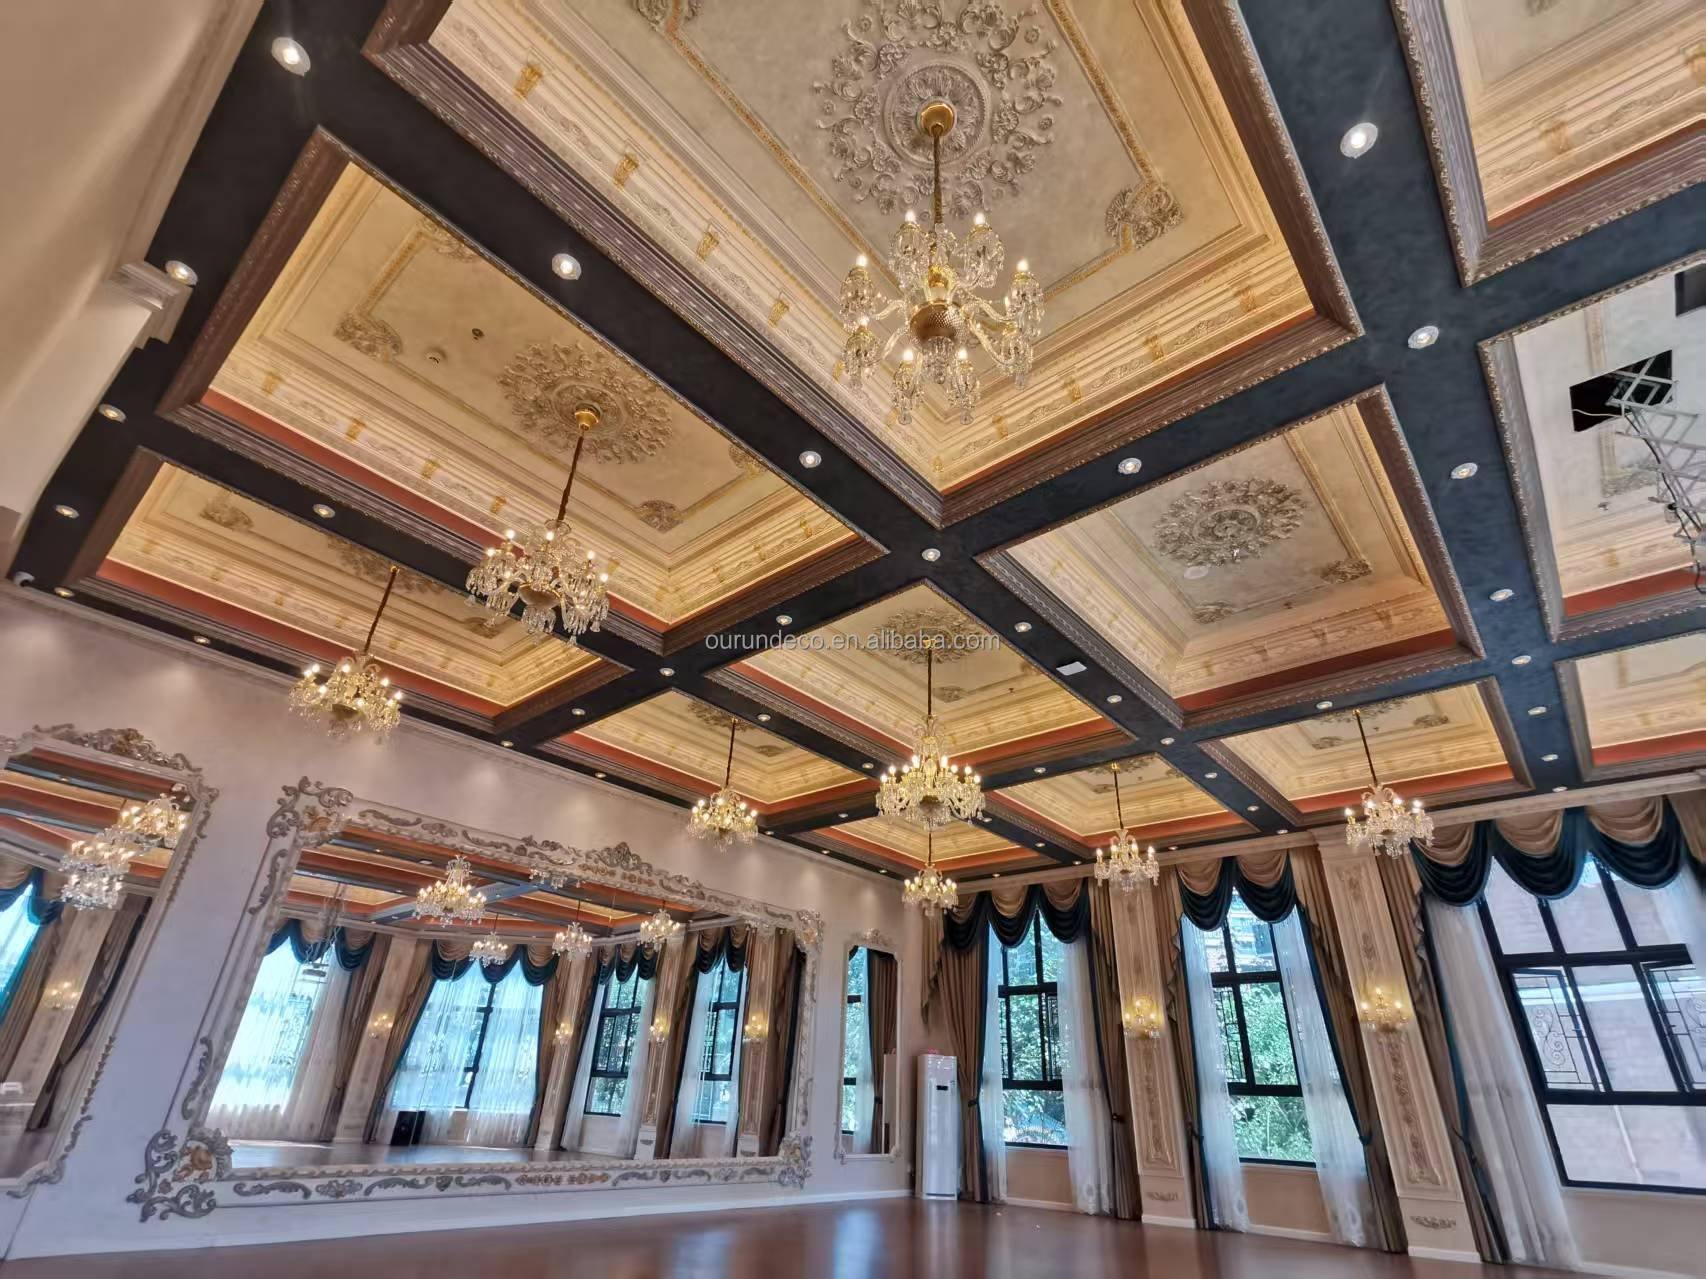
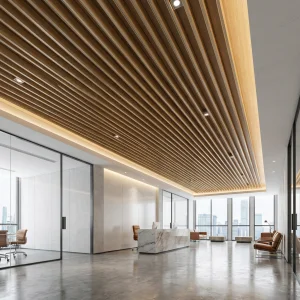
- Usage: Suitable for wall and ceiling decoration in hotels, villas, and other upscale environments.
- Unit of Sale: Per piece
Transform your space with the timeless elegance and practical benefits of our Wall Decorative PU Moldings. Order now and add a touch of luxury to your interiors!
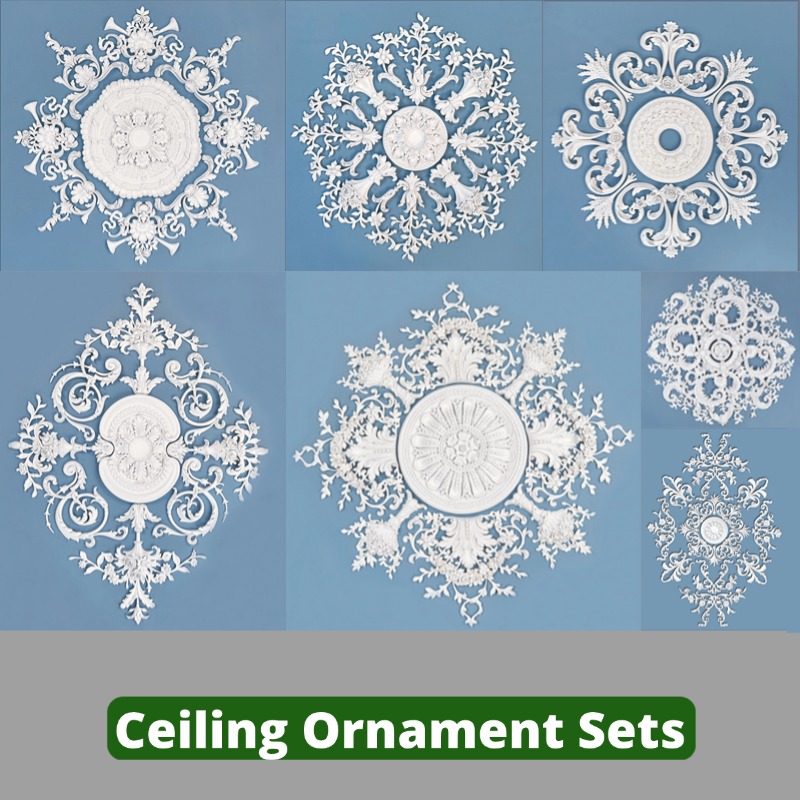
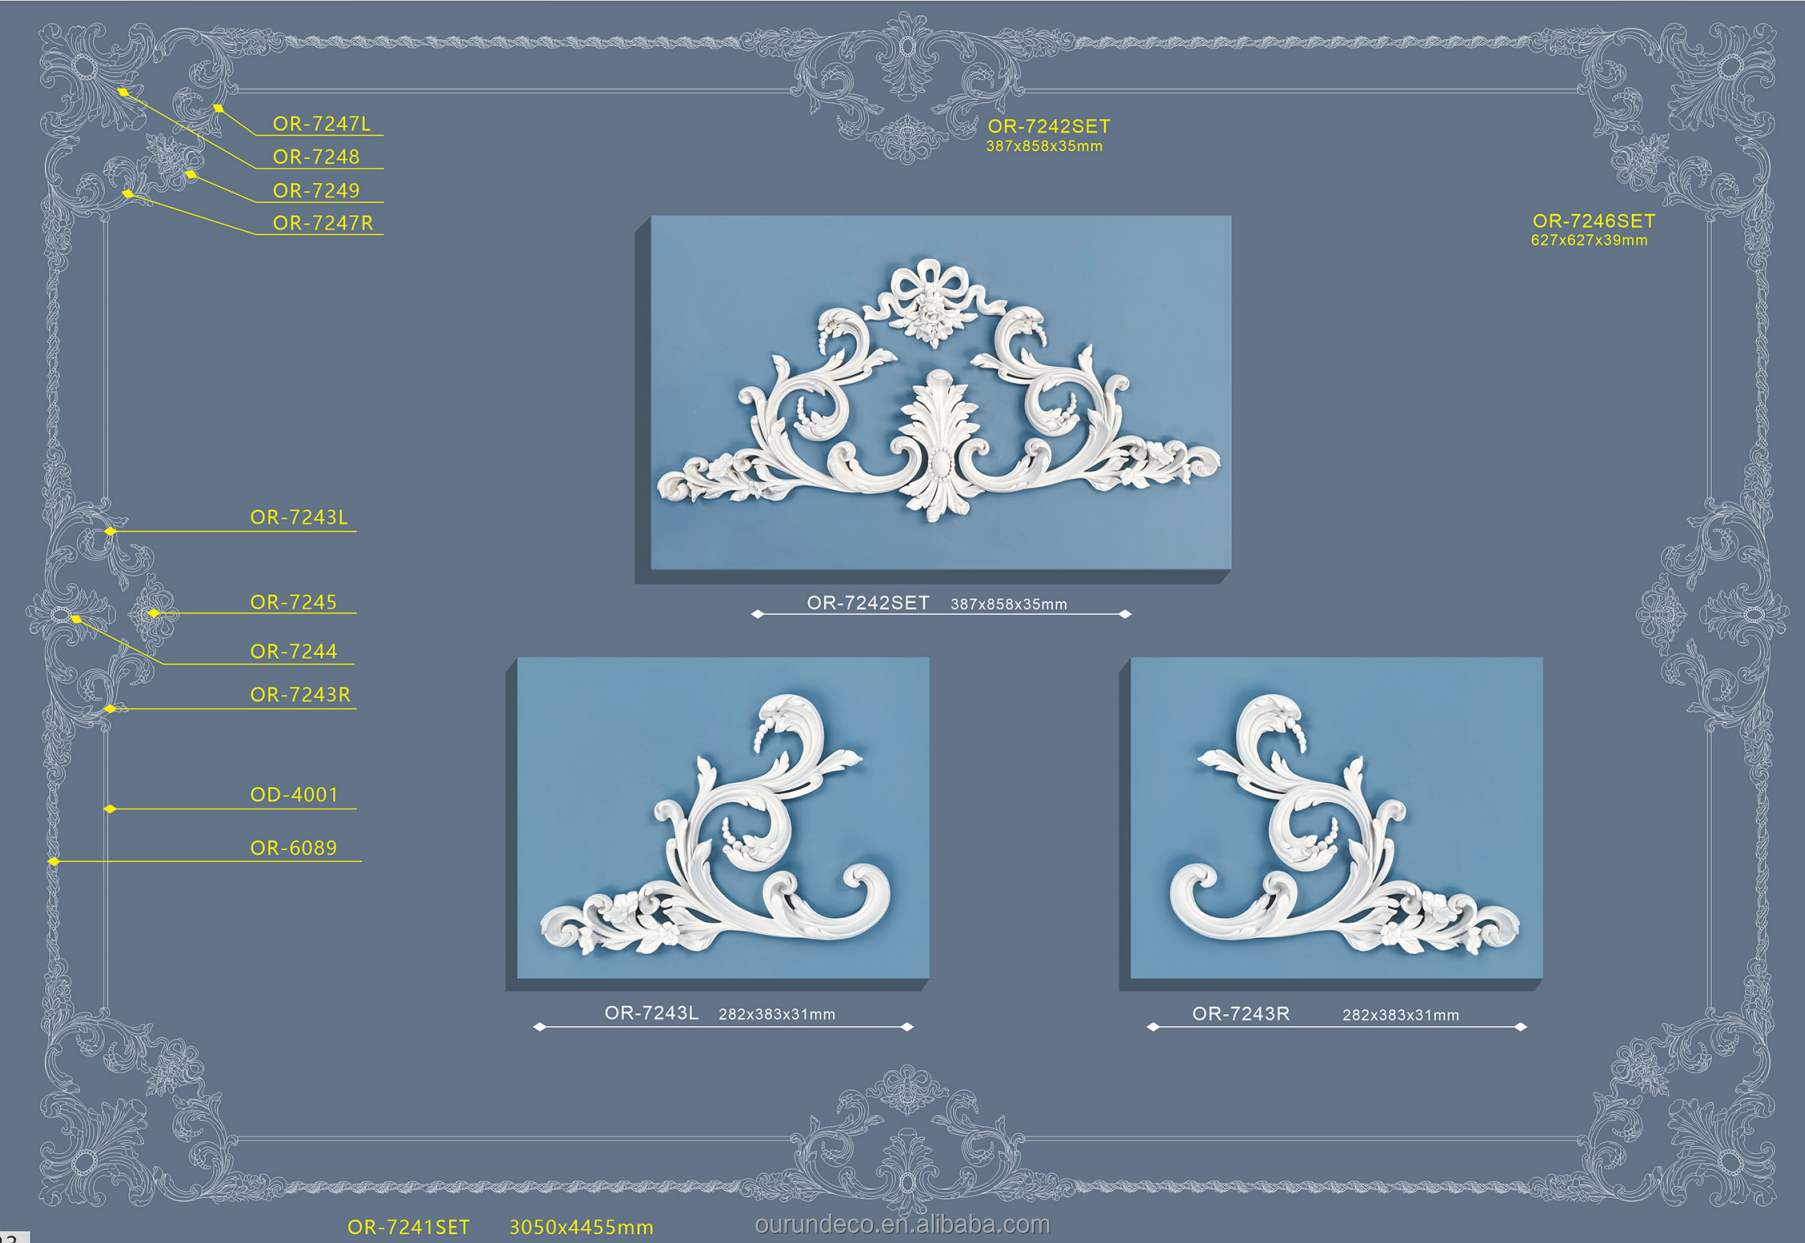
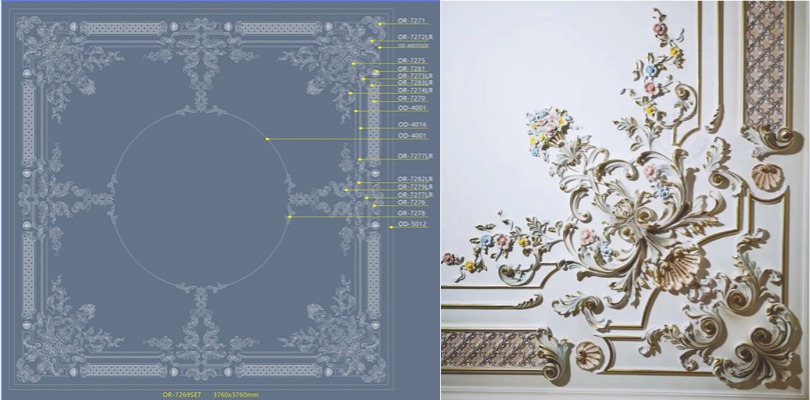
About Wall/Ceiling Decoration Moulding Sets
We can provide customized decorative mouldings sets for your project.
The MOQ for moulding set is 1 set, and express delivery service is supported.
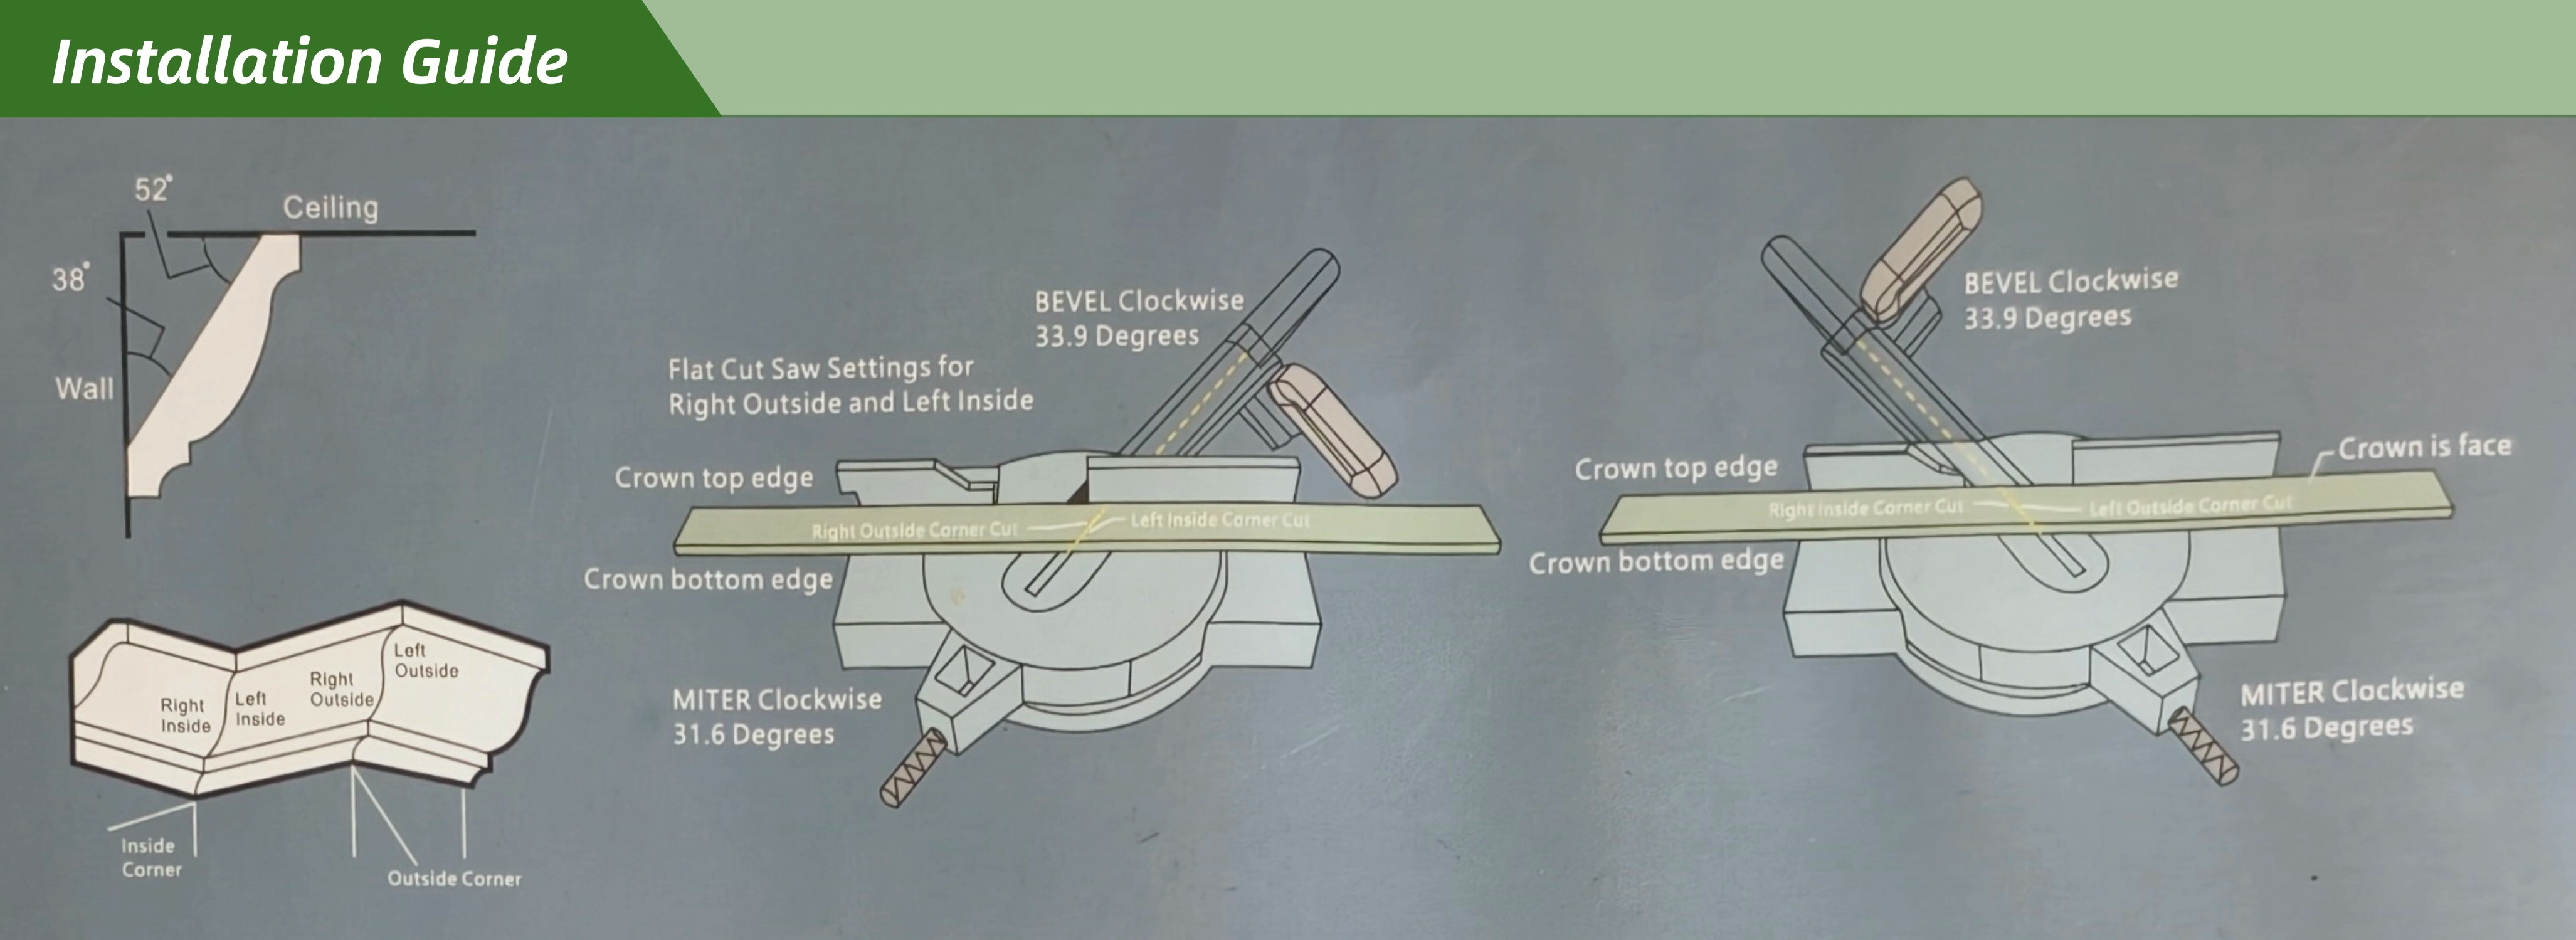
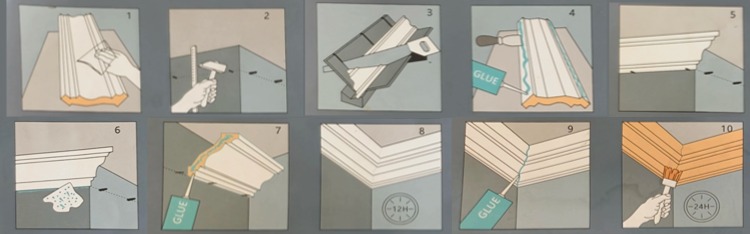
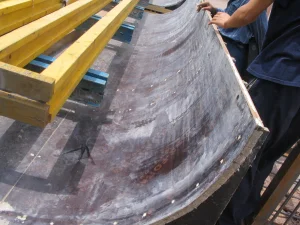
🛠 Installation Instructions
Tools Required: Miter box, fine tooth saw, caulk gun, tape measure, sponge, fine-grit sandpaper, pencil, air nailer, hammer, adhesive and filler, and more.
Step 1
Preparation: Before installing the product, wipe the material gently to avoid any dirt and impurities. This is important for good adhesion and a smooth finish. Measure exactly where you want to install your moldings and calculate the length you need to install to compensate for miter waste. Take a length of line and place it flush with the ceiling and wall as you want it to be installed.
Step 2
Positioning Lines: Draw positioning lines on the ceiling and walls, illustrating the edges of the lines, onto which nails can be driven to hold the lines in place.
Step 3
Mitering Process: Bevel miter tool can be used for sawing all product shapes. Place lines in miter boxes, walls, and ceilings. For right-hand outside corners, use the left slot to save material to fit to the left side of the cutout. For left hand outside corners, use the right slot, saving material to fit into the right side of the cutout. For right-hand inside corners, use the right slot, saving material to fit to the left side of the cut. For left hand inside corners, use the left slot, save material to fit into the right side of the cut, use the center slot to cut the butt joint, use the tool correctly.
Step 4
Glue Application: Install against the wall and ceiling using glue and a caulking gun, and apply glue on the line glue layer that will be installed on the wall and ceiling.
Step 5
Fixing: Place the line inside the fixed line and fix it with air nails or steel nails.
Step 6
Cleaning Excess Glue: Spilled glue can be removed immediately with a damp cloth or sponge while filling the final gap between the line and the ceiling or between the line and the wall.
Step 7
Joint Alignment: Lines continue the full length of each other and around the room. Glue should be applied to one side of each joint before installing the next line, the lines will be held very firmly, this will guarantee a perfect connection between adjacent lines.
Step 8
Hardened Adhesive Removal: Remove excess adhesive after the glue has hardened (depending on relative humidity). If immediate adhesive removal is required, use acetone.
Step 9
Filing Gaps: After finishing the installation lines, final gaps and miter cuts can be filled with glue.
Step 10
Final Sanding & Painting: After the glue hardens, the overflowing glue can be cleaned up, the line butt joints can be smoothed with sandpaper, and then painted or sprayed with high-quality paint.
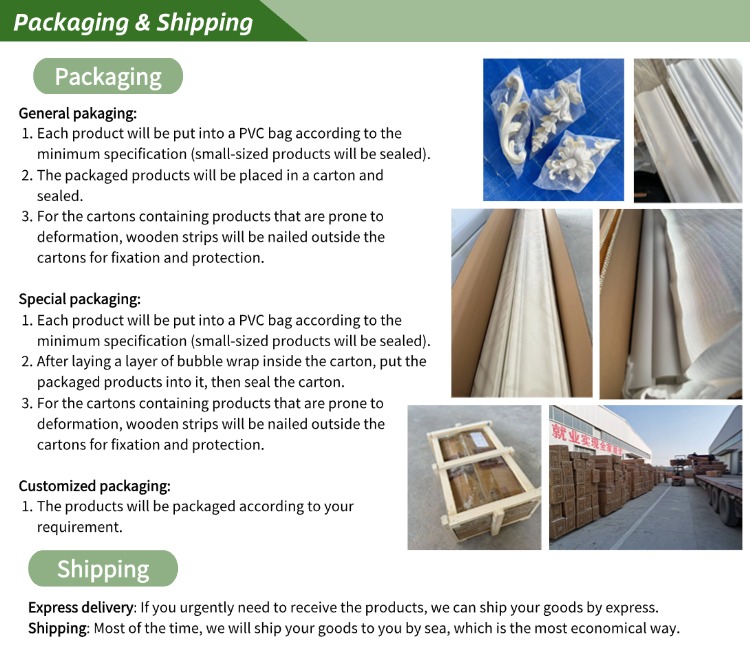
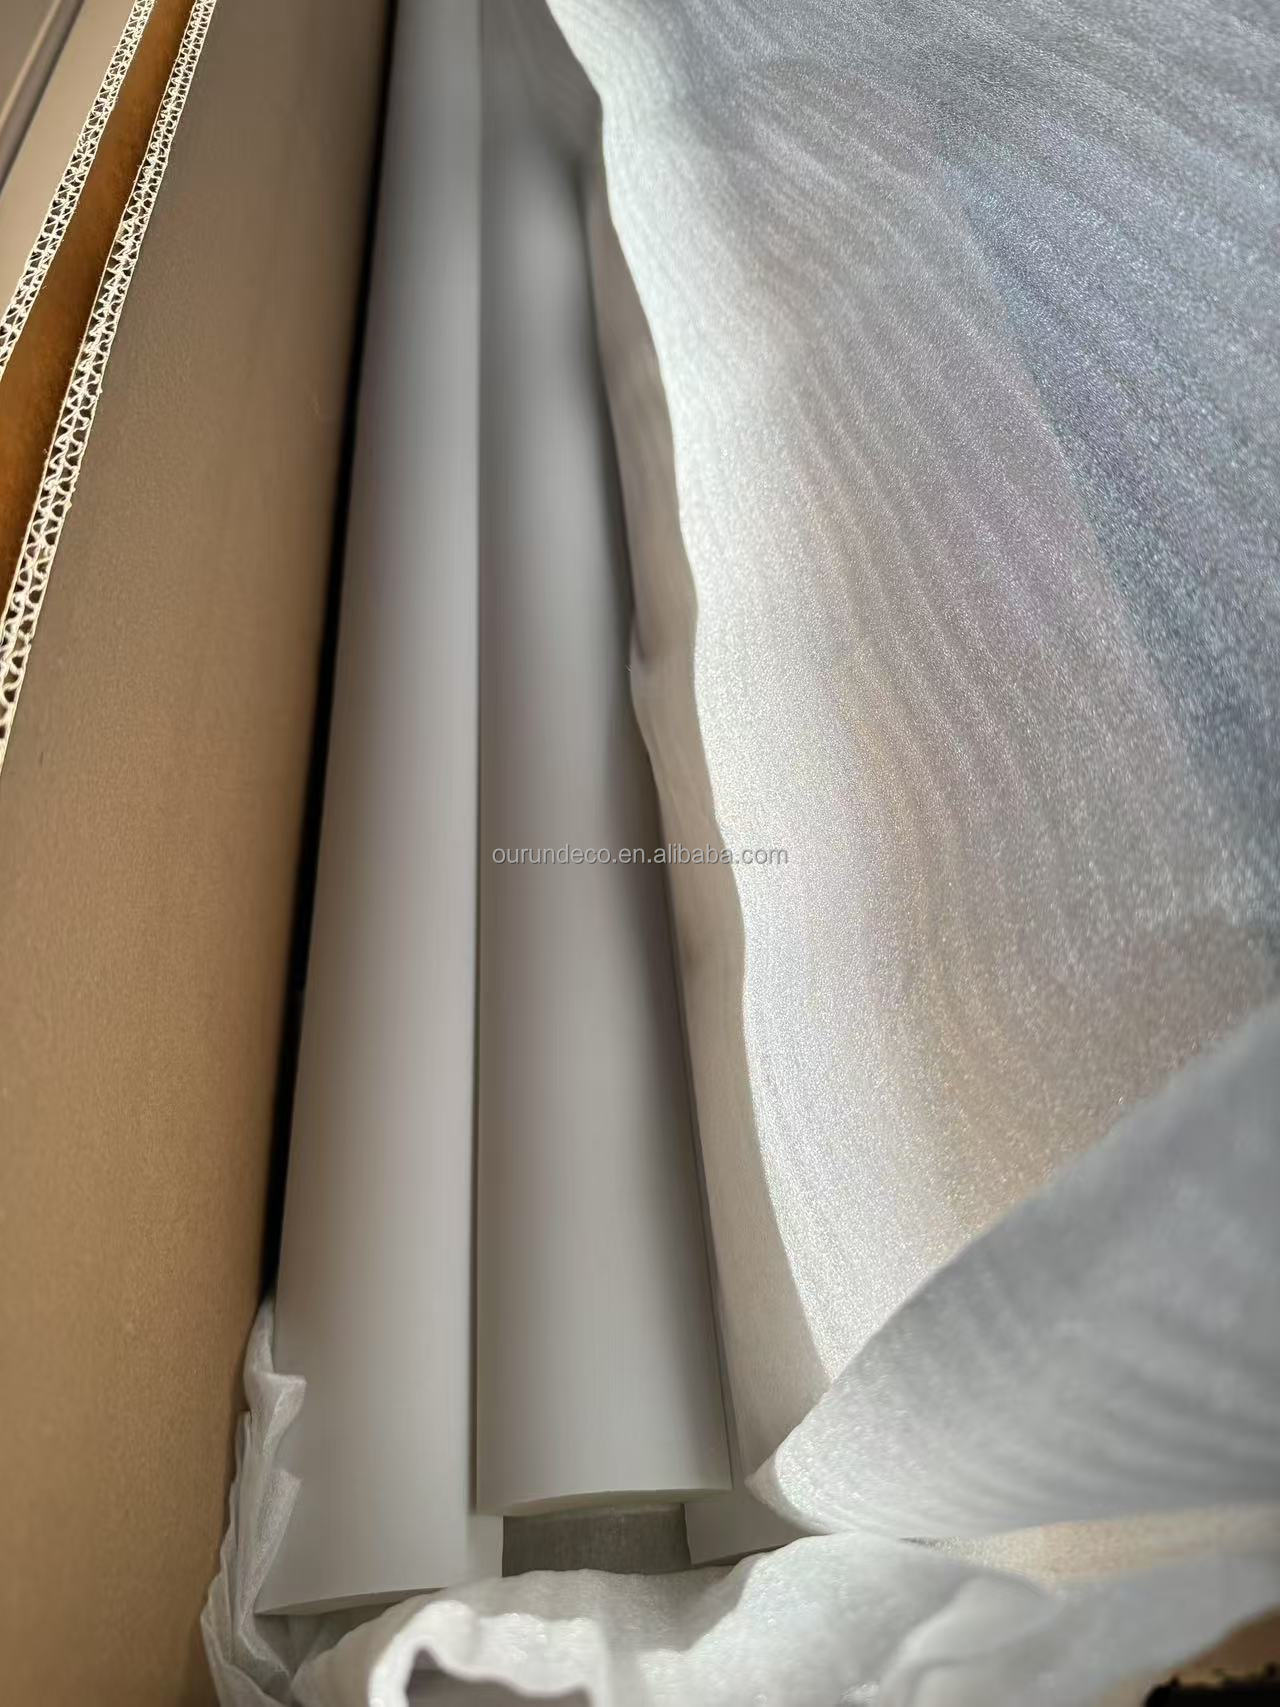
📦 Packaging Options
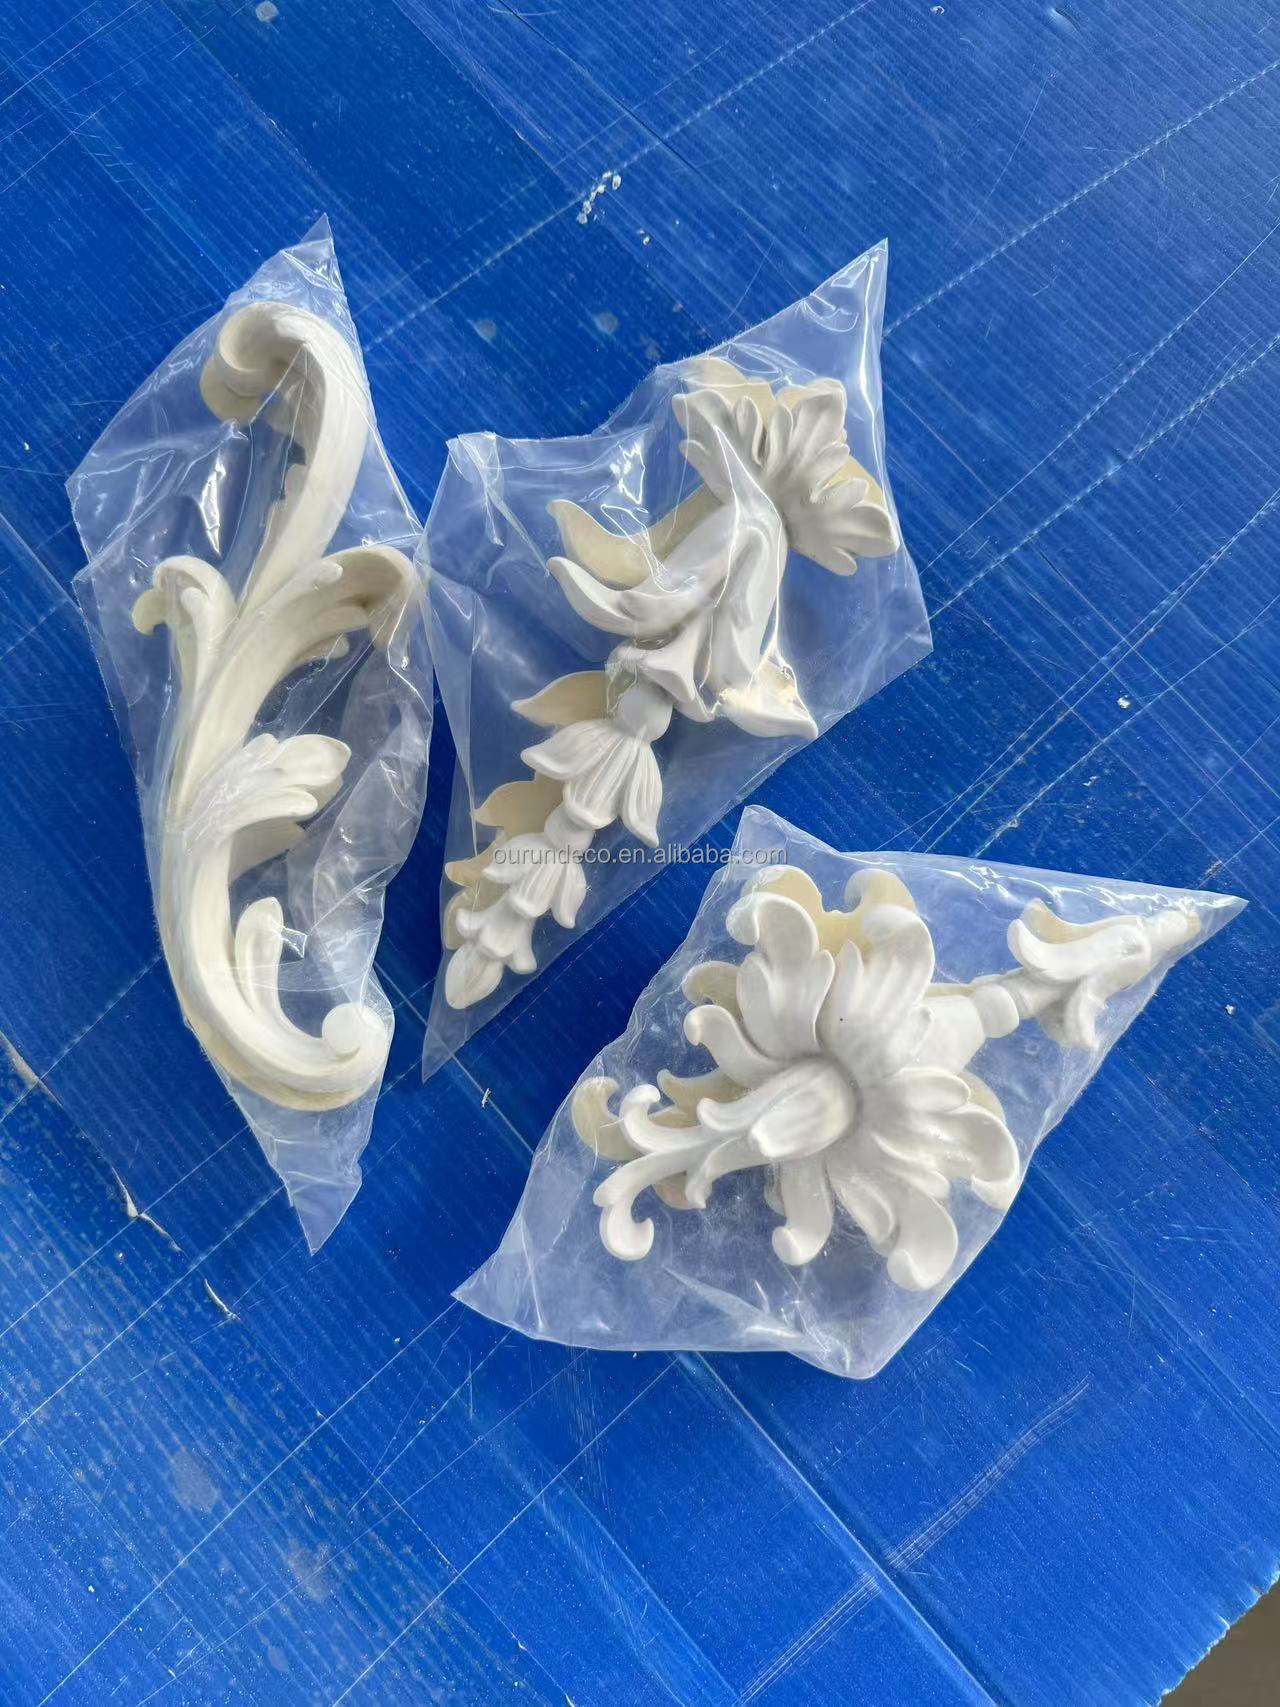
General Packaging:
- Each product will be put into a PVC bag according to the minimum specification.
- The packaged products will be placed in a carton and sealed.
- For cartons containing products prone to deformation, wooden strips will be nailed outside the cartons for fixation.
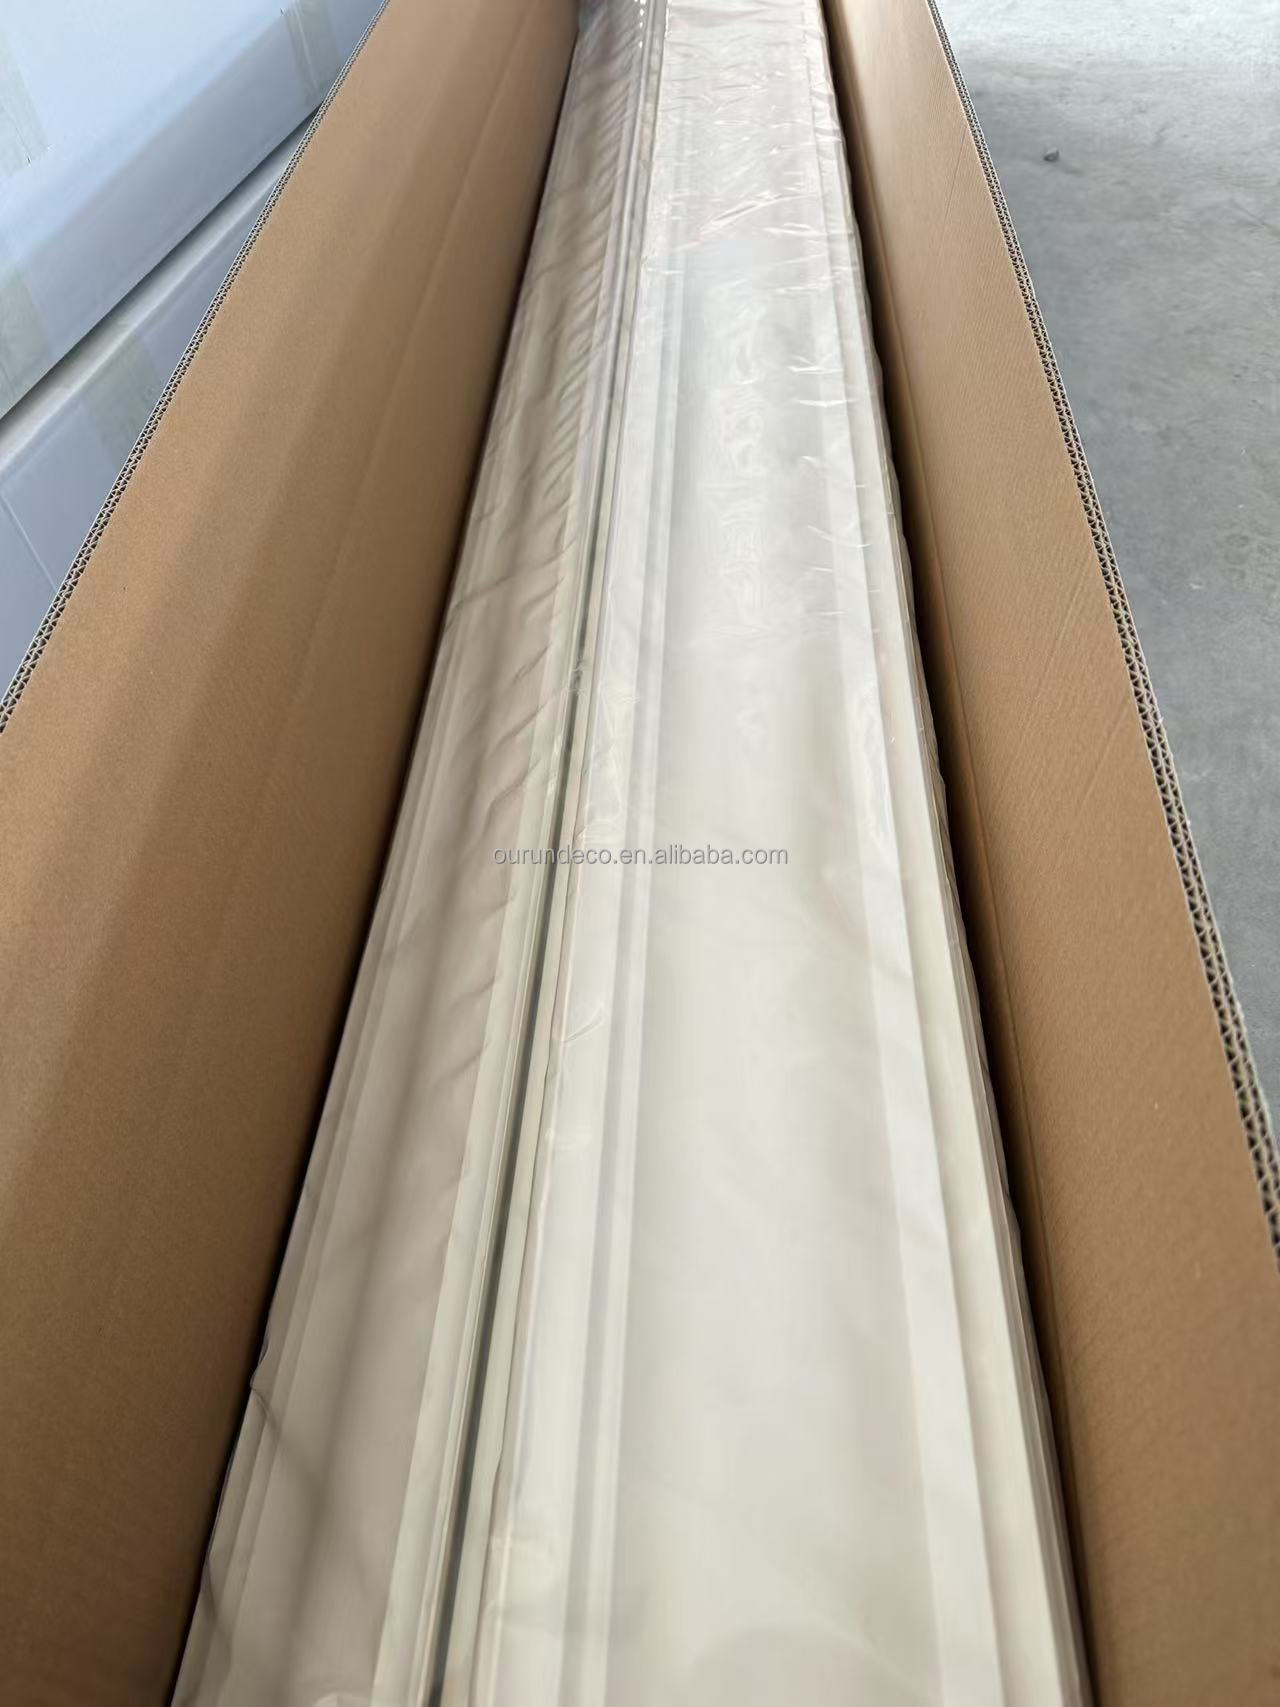
Special Packaging:
- Each product will be put into a PVC bag.
- A layer of bubble wrap is laid inside the carton, followed by the packaged products and final sealing.
- Wooden strips are nailed outside for extra protection.
Customized Packaging: Products will be packaged according to your specific requirement.
🚢 Shipping Methods
Express Delivery: If you urgently need to receive the products, we can ship your goods by express delivery.
Ocean Freight Shipping: Most of the time, we will ship your goods to you by sea, which serves as the most economical transport option.
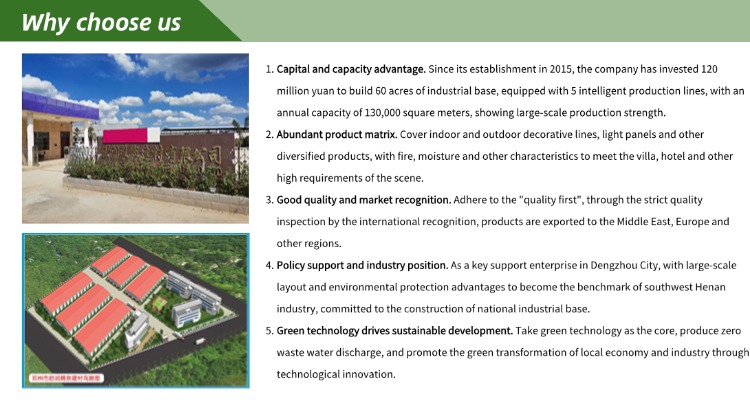
✨ Why Choose Us?
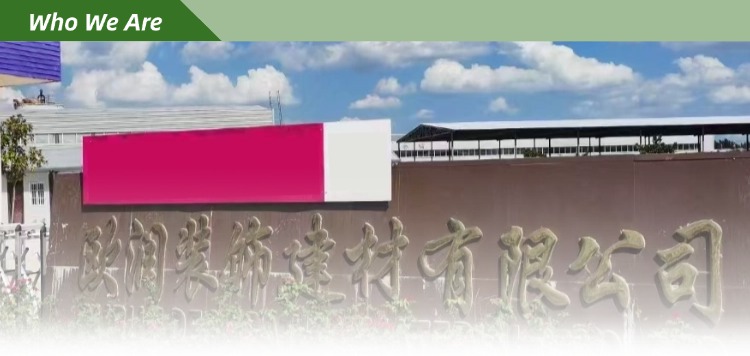
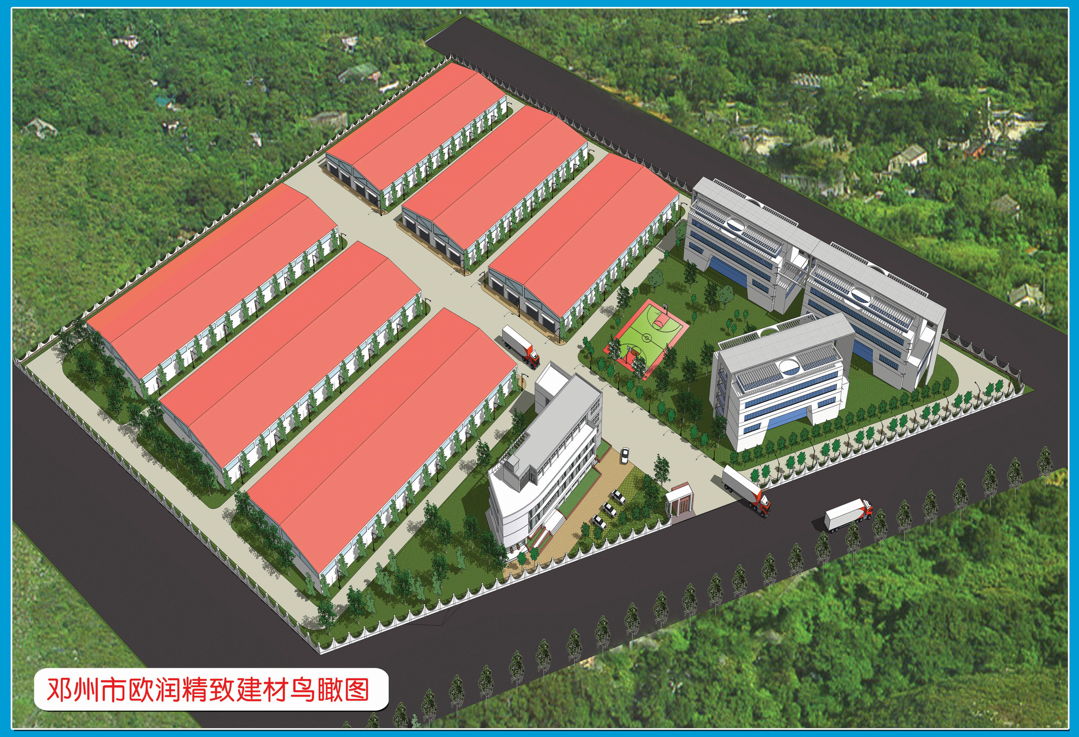
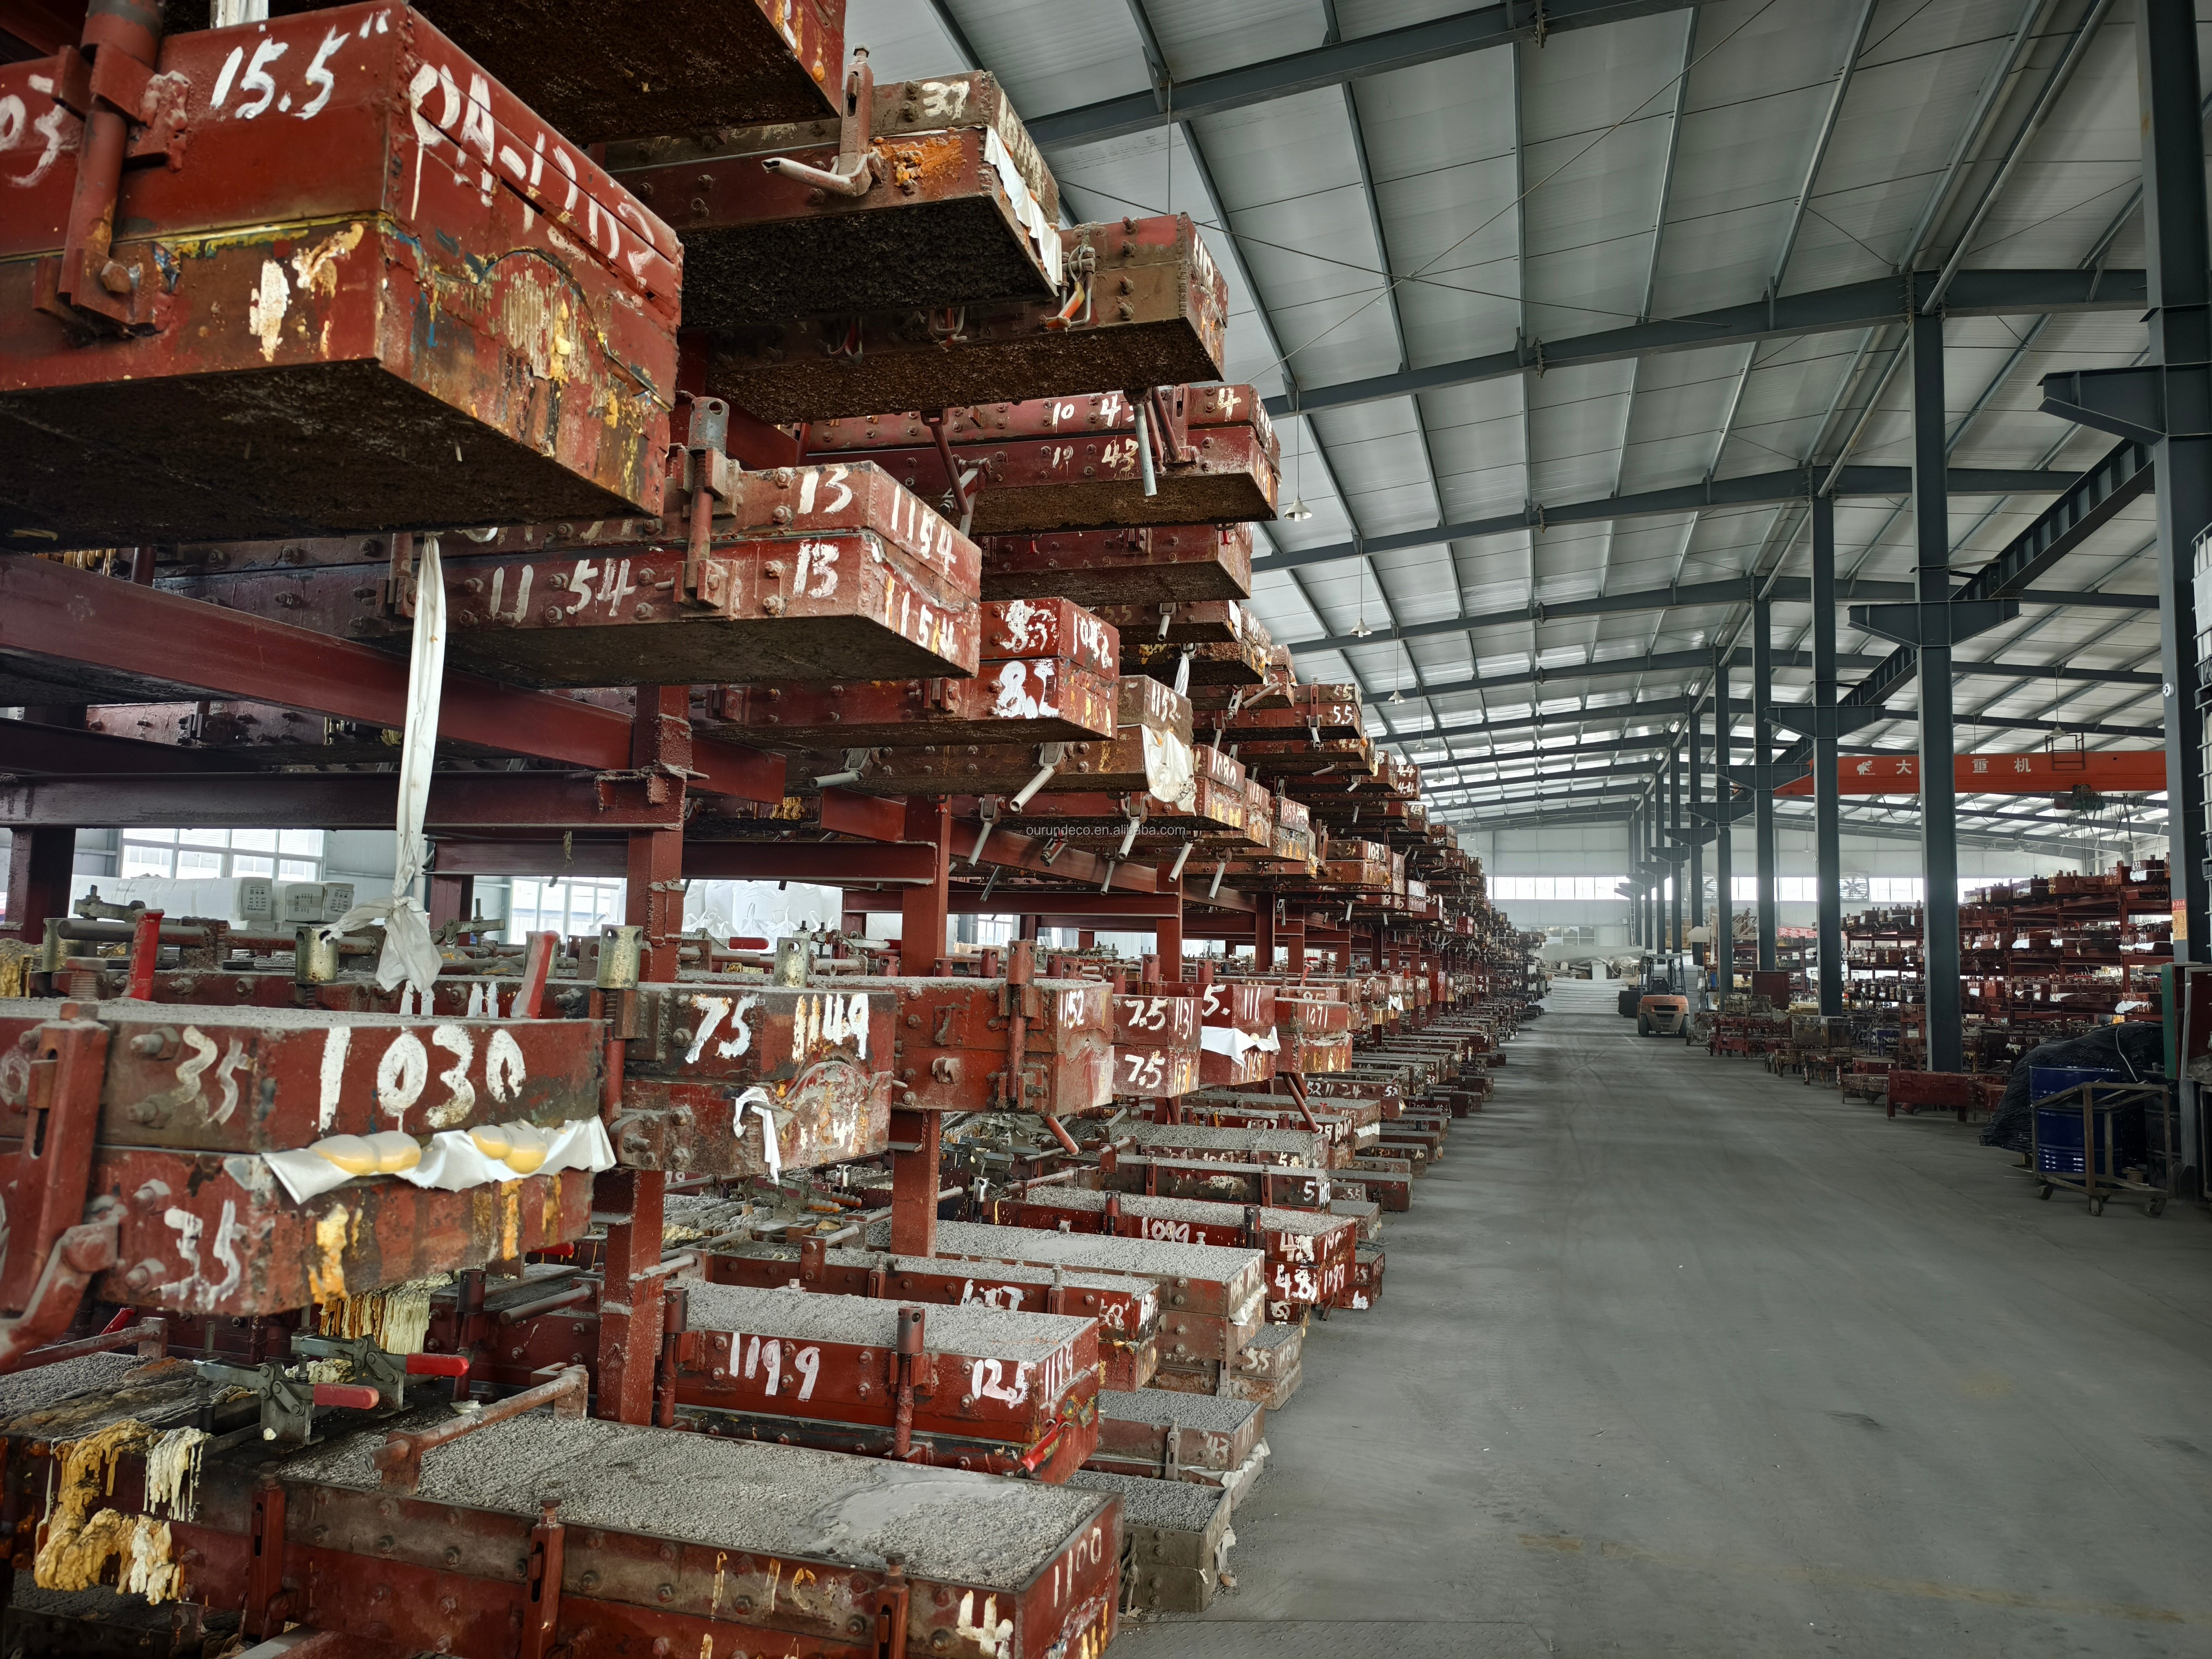
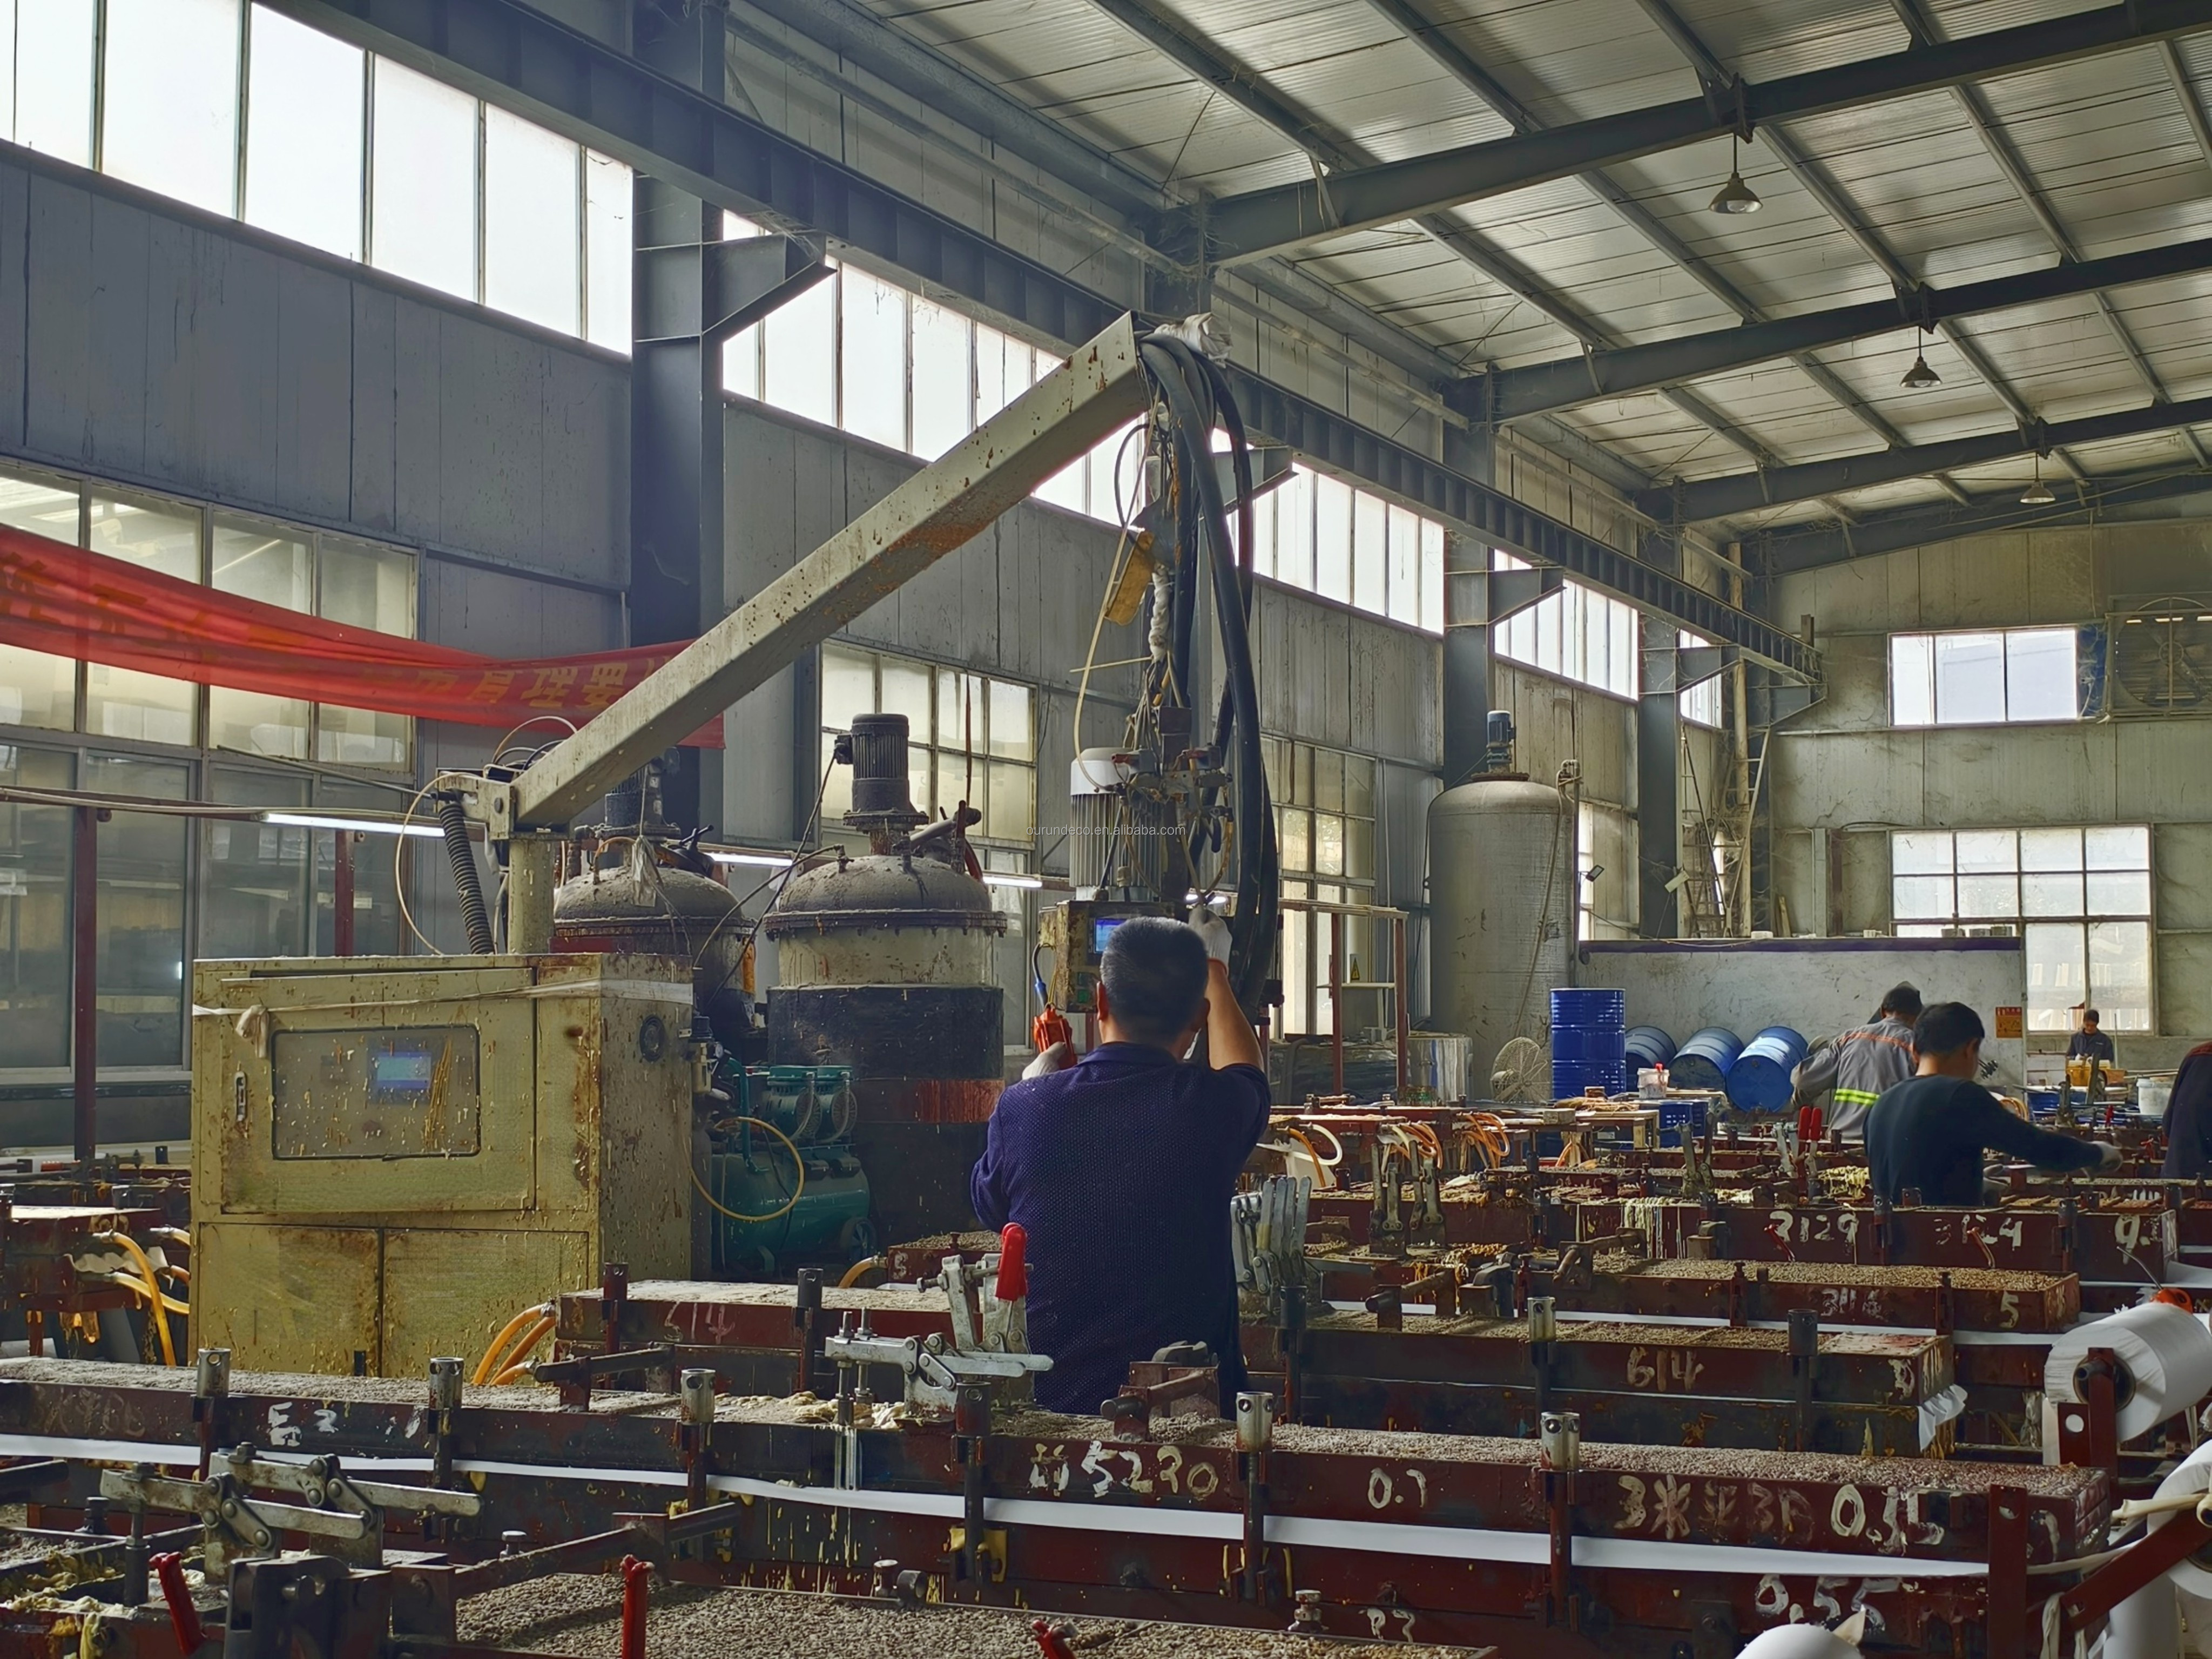
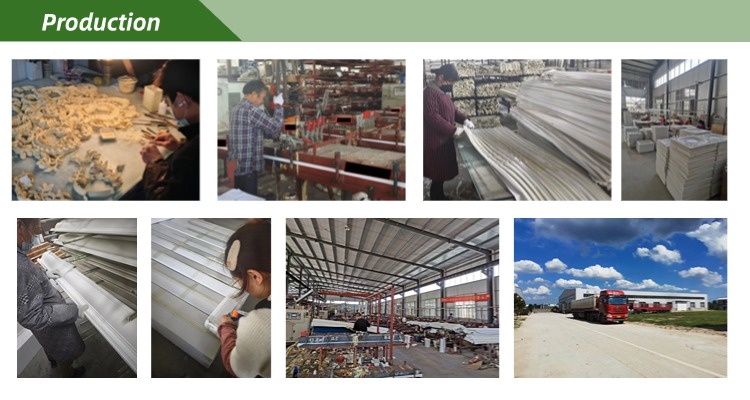
1. Capital and Capacity Advantage: Since its establishment in 2015, the company has invested 120 million yuan to build 60 acres of industrial base, equipped with 5 intelligent production lines, with an annual capacity of 130,000 square meters, showing large-scale production strength.
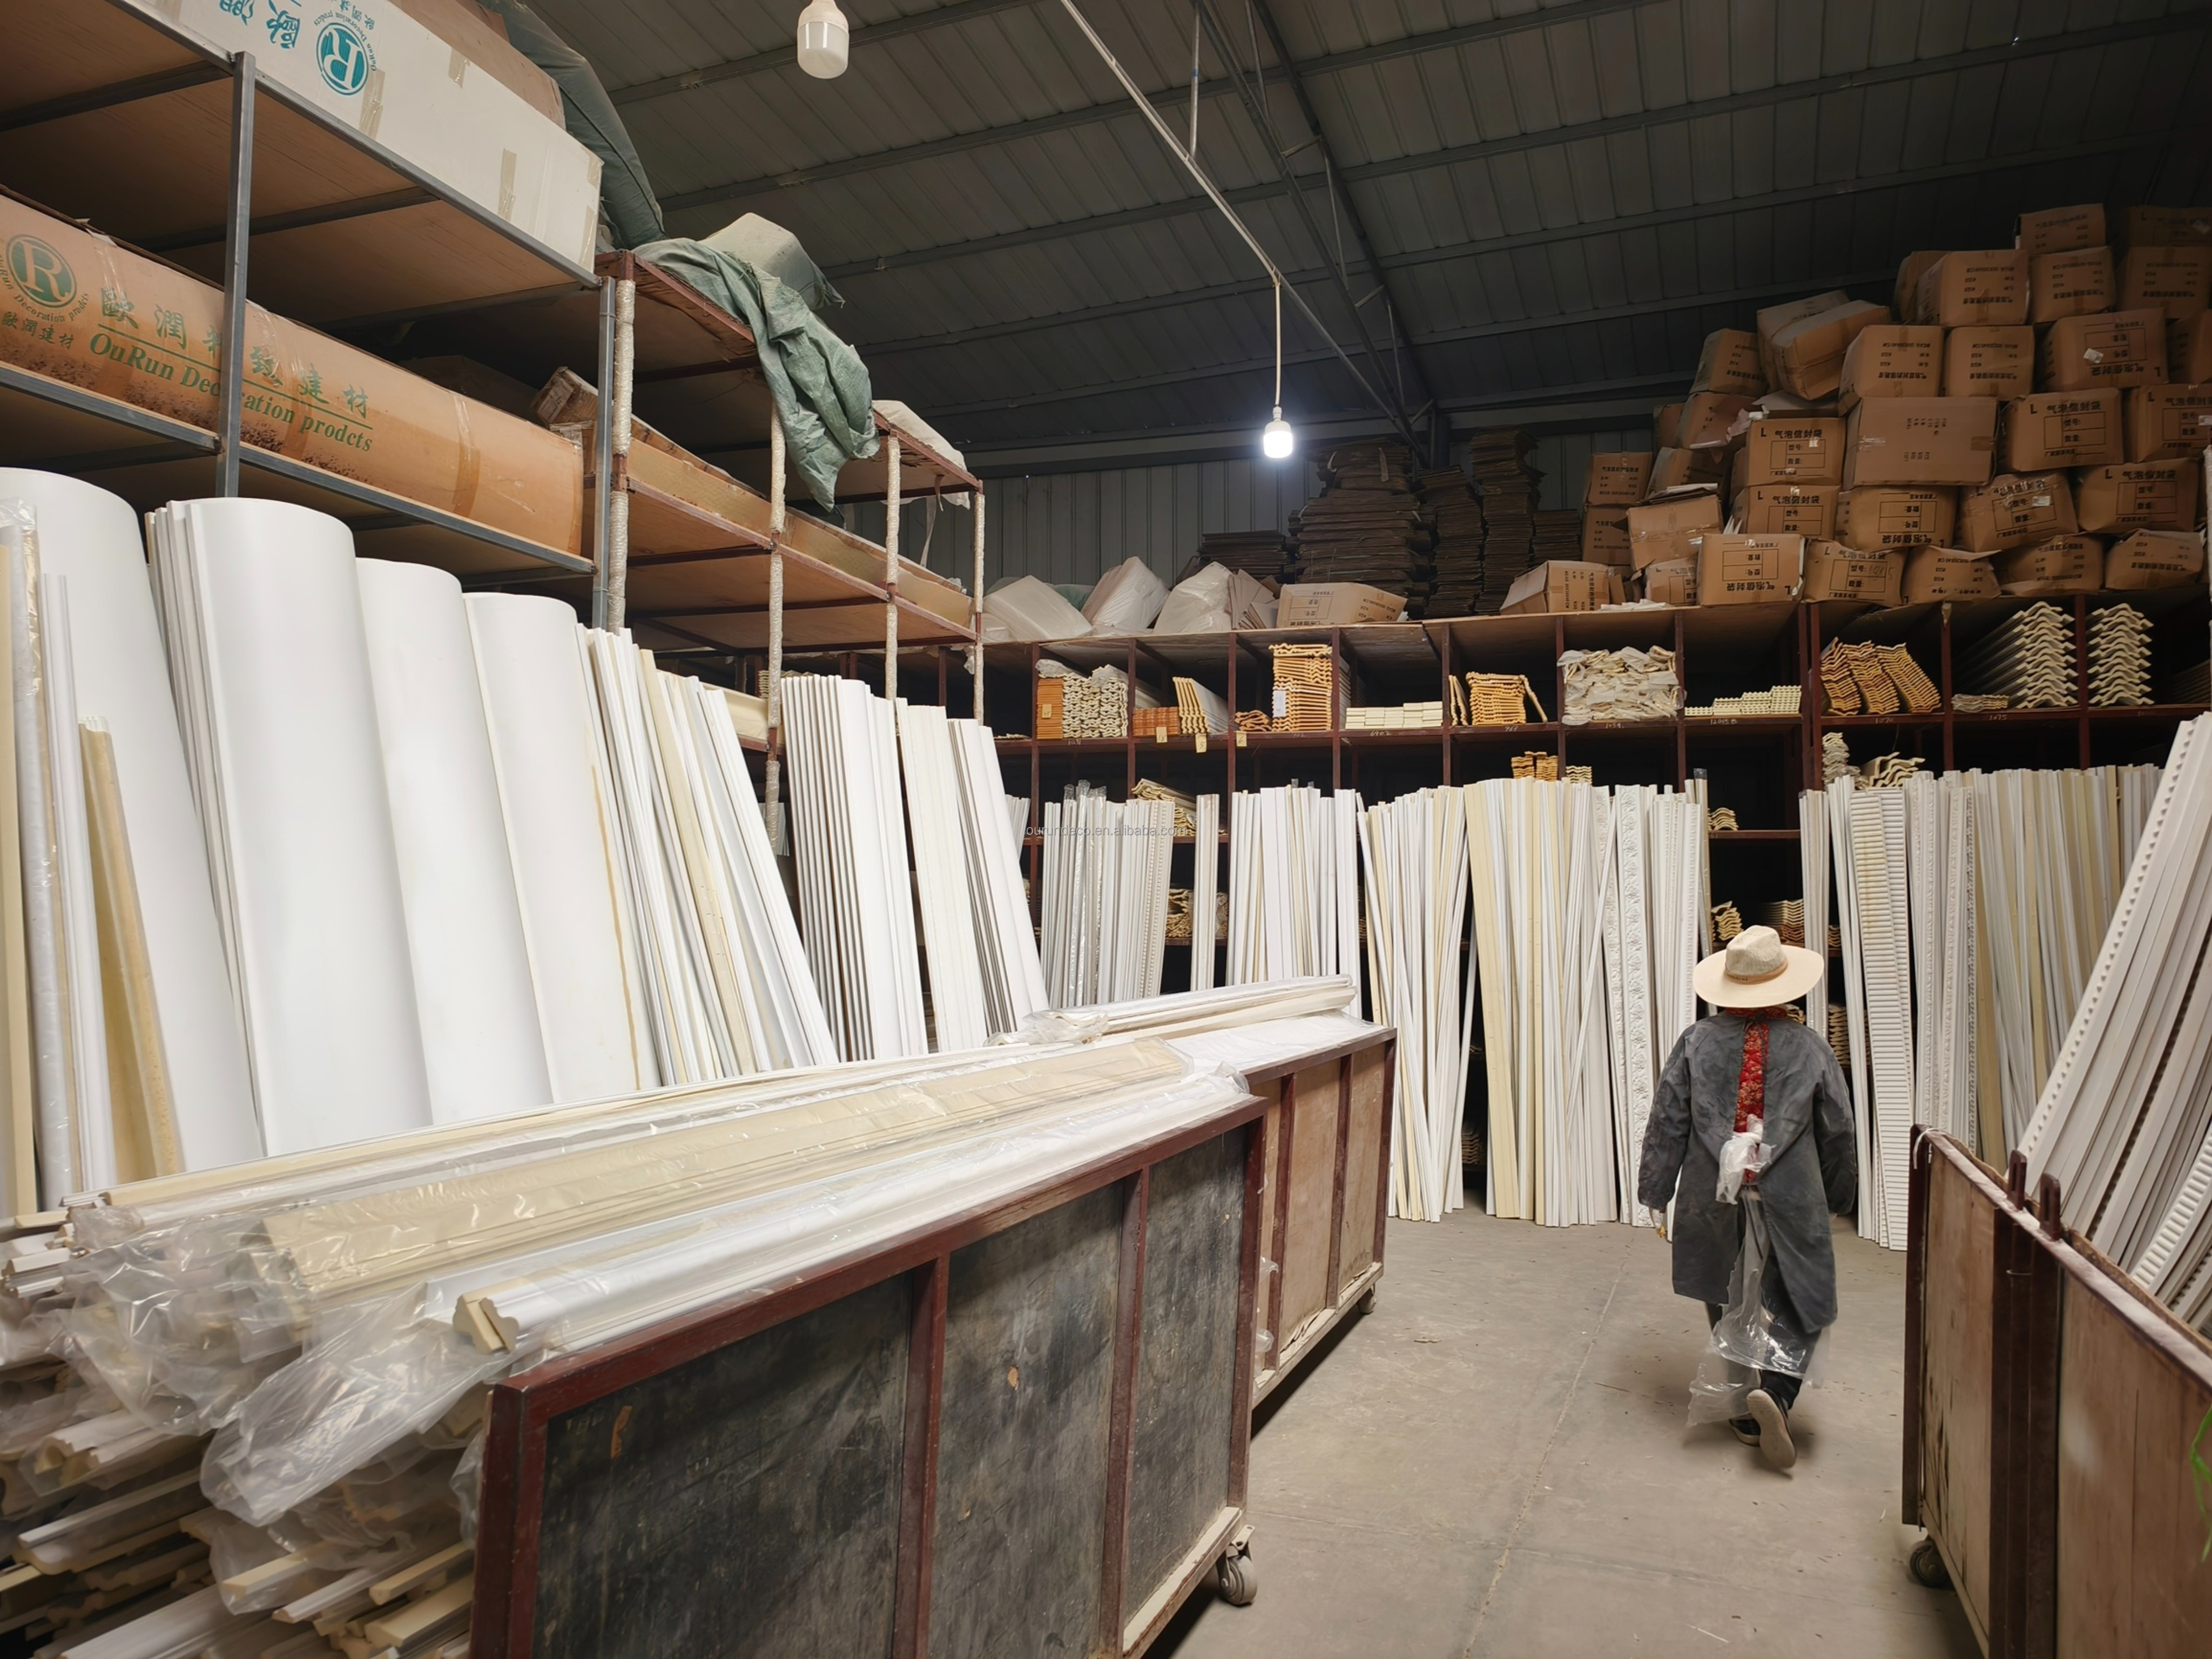
2. Abundant Product Matrix: Cover indoor and outdoor decorative lines, light panels, and other diversified products, with fire, moisture, and other characteristics to meet the high requirements of villas, hotels, and various commercial projects.
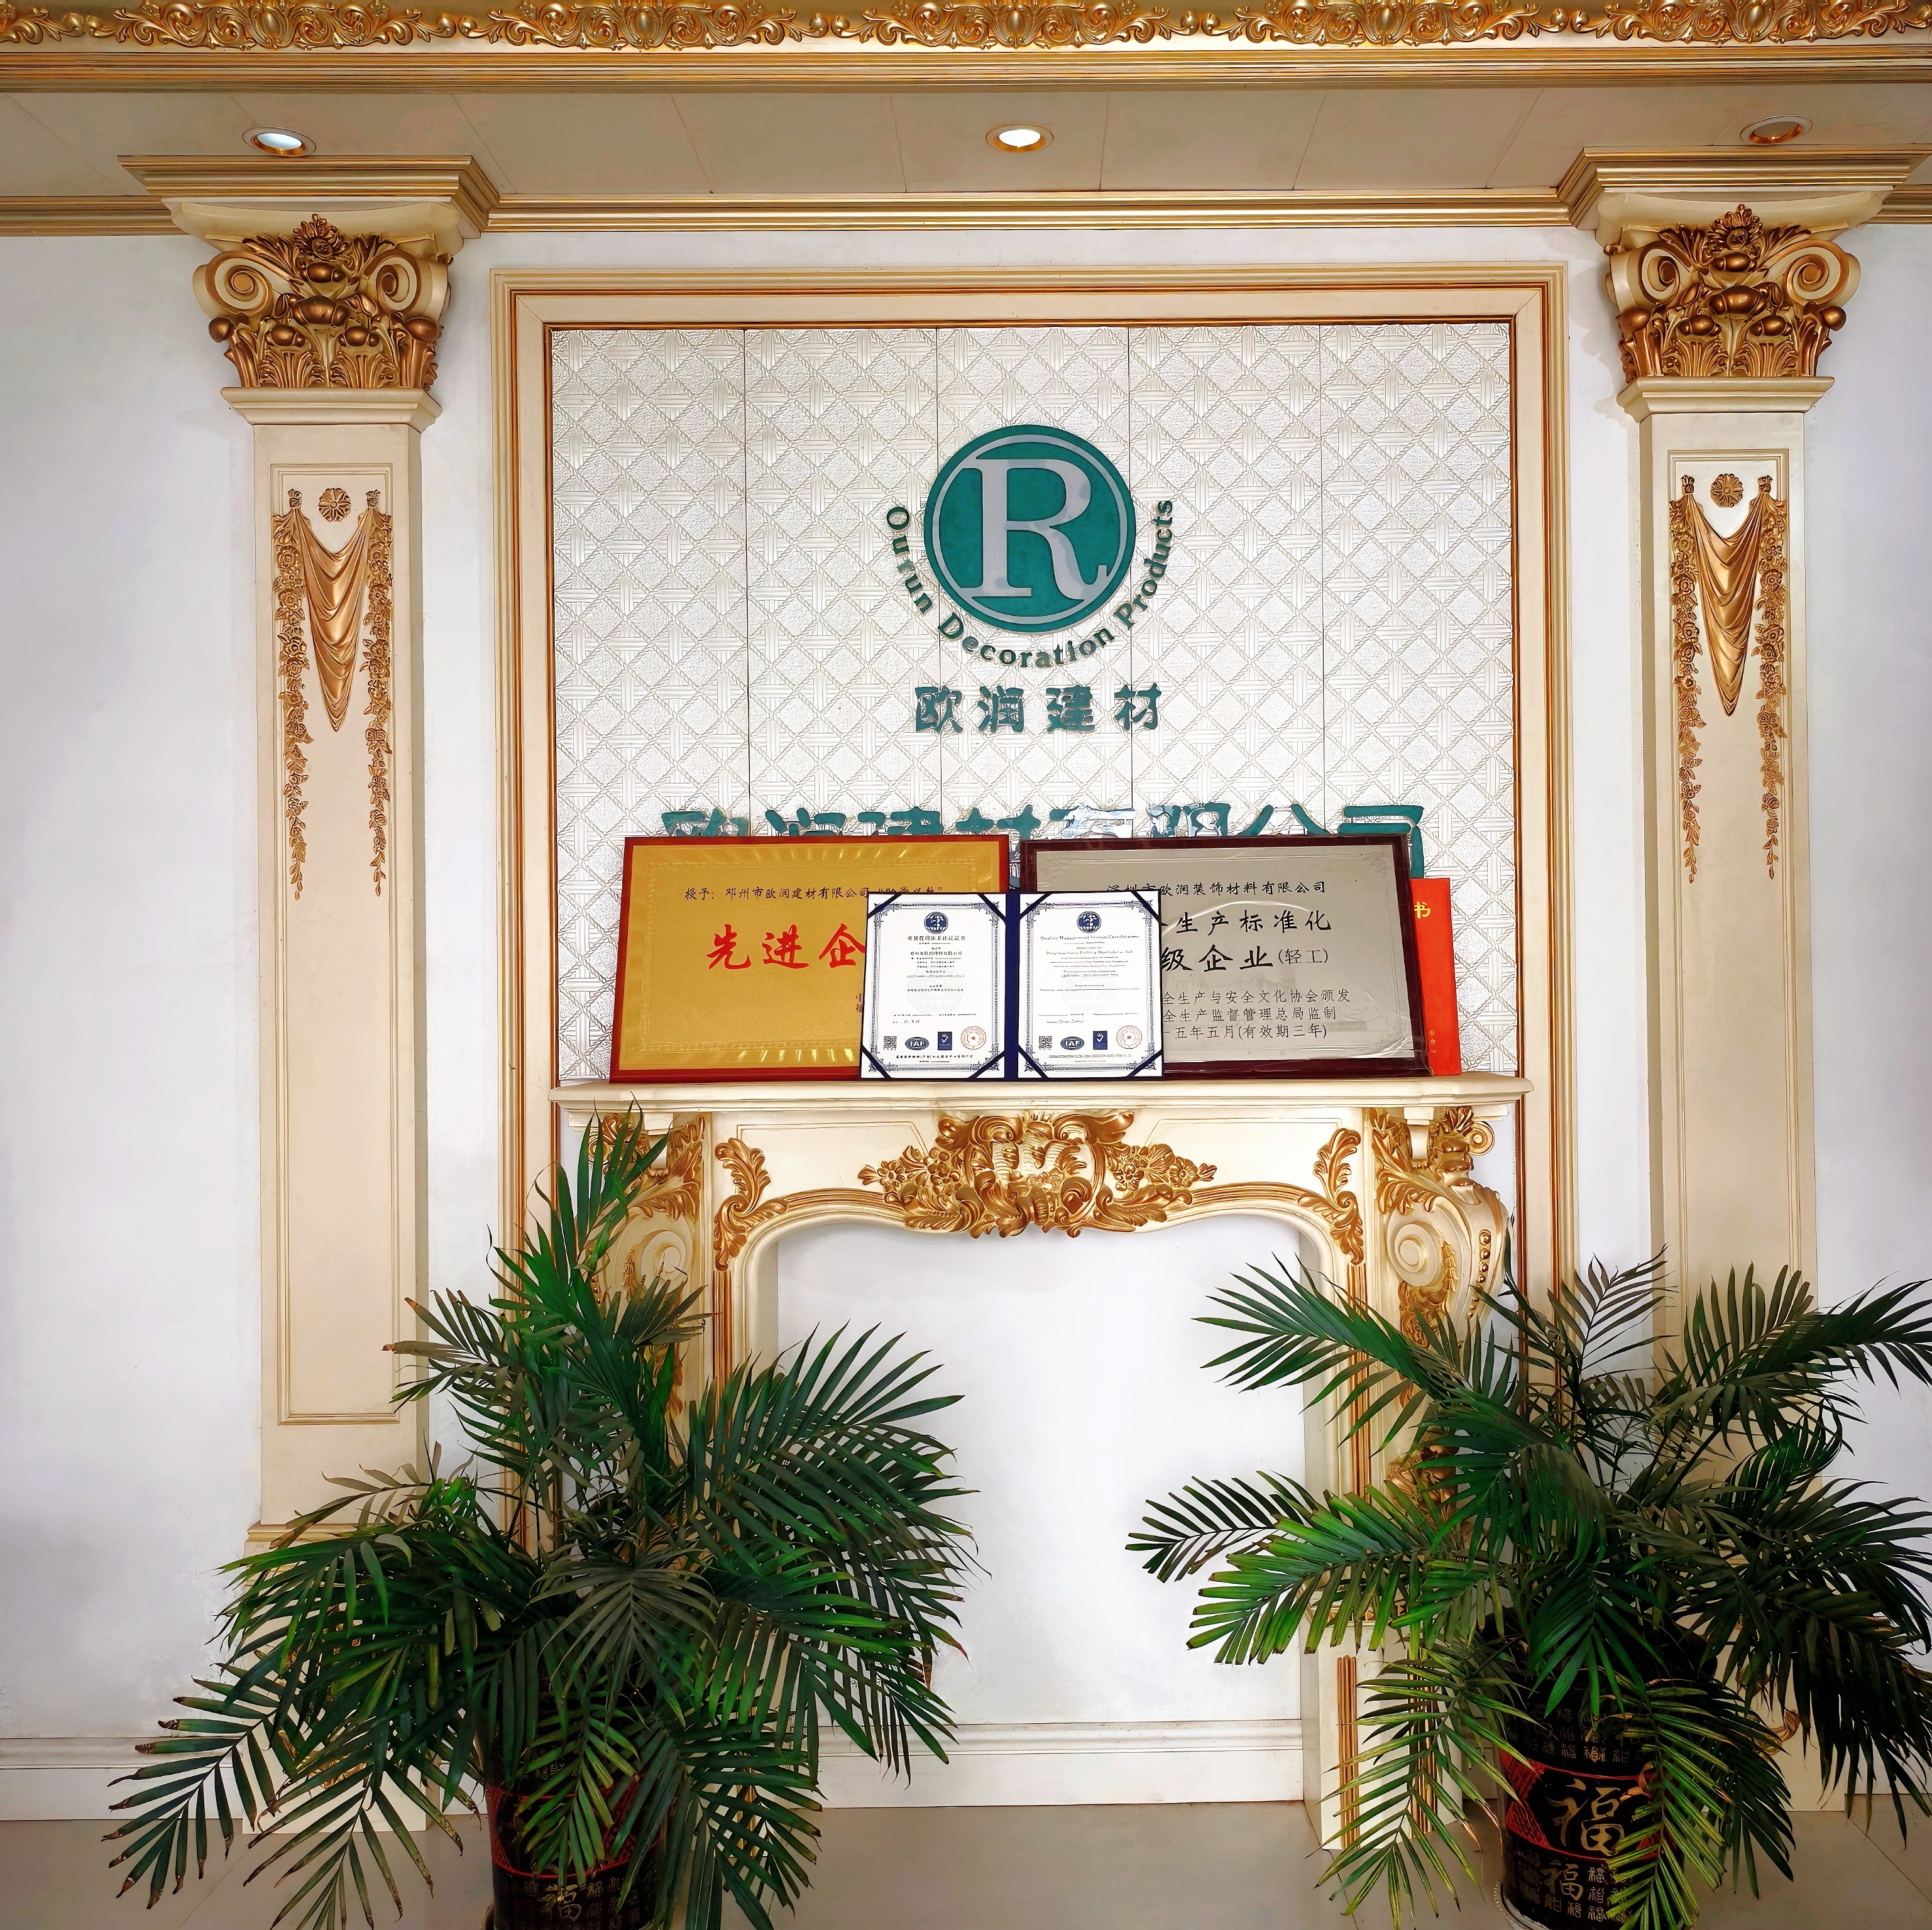
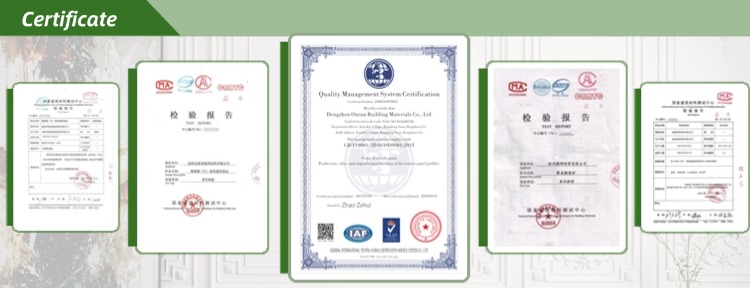
3. Good Quality & Market Recognition: Adhere to the "quality first" philosophy. Through strict quality inspections recognized internationally, products are exported successfully to the Middle East, Europe, and other regions.
4. Policy Support & Industry Position: Designated as a key support enterprise, our large-scale layout and environmental protection advantages position us as an industry benchmark, committed to the construction of a national industrial base.
5. Green Technology & Sustainable Development: Utilizing green technology as our core framework, we operate with zero waste-water discharge, driving the green transformation of the local economy and industry through continuous technological innovation.
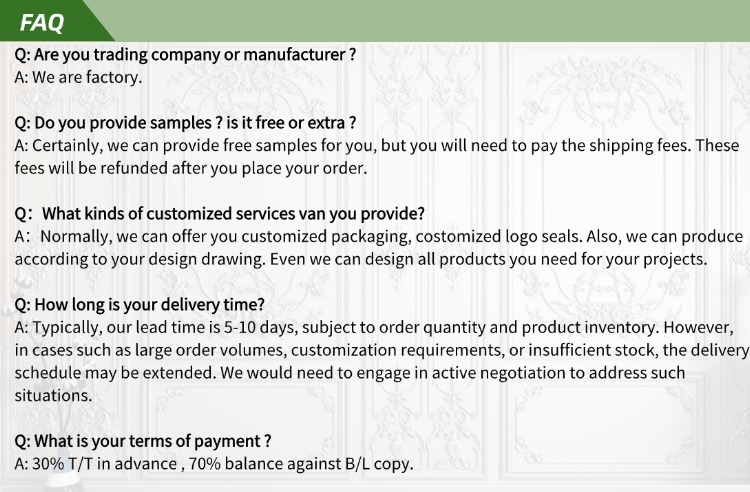
💡 Frequently Asked Questions (FAQ)
Are you a trading company or a manufacturer?
We are a factory manufacturer.
Do you provide samples? Is it free or extra?
Certainly, we can provide free samples for you, but you will need to pay the shipping fees. These fees will be fully refunded after you place your formal order.
What kinds of customized services can you provide?
Normally, we can offer you customized packaging and customized logo seals. Additionally, we can produce products according to your design drawings. We can even design all the products you need for your projects.
How long is your delivery time?
Typically, our lead time is 5-10 days, subject to the order quantity and product inventory. However, in cases such as large order volumes, customization requirements, or insufficient stock, the delivery schedule may be extended. We would engage in active negotiation to address such situations.
What is your terms of payment?
Our standard payment terms are 30% T/T in advance, and a 70% balance against the B/L copy.
What is the minimum order quantity (MOQ) for custom moulding sets?
The minimum order quantity for custom moulding sets is 1 set, and express delivery service is fully supported.